Farmer’s Market Tomato Soup

So, I have a tendency to get overexcited about beautiful produce at the grocery store or farmer’s market. Especially tomatoes. This often leads to overbuying, which eventually leads to mushy tomatoes because I can’t use them all! The solution: tomato soup!

You will need:

  • 3/4 white onion
  • 1/2 clove garlic
  • 4 cups tomato (more or less depending on how many you have)
  • 1 can chicken broth
  • Basil
  • Bay leaves
  • Salt and pepper 
  • Cream or coconut cream if desired

To begin, sauté onions and garlic. I added some leftover red pepper  that I had in the fridge.


Next, I washed and cut all of my beautiful tomatoes.

When onions become translucent, add tomatoes. Let cook on medium for 10 minutes, or until tomatoes become soft.

Next, add whole basil leaves and 4-5 bay leaves.

  1. Stir together and then add chicken broth.

Let simmer for another 15 minutes. Pull yo basil leaves and bay leaves with tongs. If you really like basil, this is the time to add some extra fresh chopped basil. Then, use a hand blender to mix everything together!

After the soup is blended, you can add a splash (or two) of cream or coconut cream/milk to add a little extra creaminess to the soup.  I’m freezing mine to have with grilled cheese when the weather starts to get cool!

Black Bean Quinoa Burgers

I’ve been attempting to eat healthier, thus thinking of ways to incorporate more vegetables and less fat into meals. I’ve also been trying to do so in a fiscally responsible manner. In that spirit I would like to share these black bean quinoa veggie patties on warm whole grain pitas with veggies and tzatziki  sauce. 


 I got out the food processor, and combined two cans of black beans, an eighth of raw onion, two cloves garlic, a few slices of red pepper, salt and pepper. After mixing it well I transferred the mixture to a bowl and added approximately a cup of cooked quinoa (made ahead of time), one egg white, 1/2 cup almond meal (Trader Joes) and 1/2 cup of bread crumbs. I added salt, pepper, and taco seasoning to taste. Adjust quinoa quantity and breadcrumbs to liking, in order for patties to stick together.
  
Make patties into desired size and place on greased foil or cookie sheet. Bake on 350 degrees for about 10-15 minutes on each side. Finish in broiler for crispier patties. 

While patties are cooking, make tzatziki sauce. Mix two tablespoons sour cream with two tablespoons plain greek yogurt.

  
Add a quarter of a small cucumber, peeled and chopped.

  
Add salt, pepper, garlic salt and taco seasoning to taste; squeeze a quarter of a lemon in.


Decide what you want to add to your burger and ready ahead of time.

  
Toast or bake pitas until warm and then prepare as desired! Here are two different ways to put it all together…


Enjoy!

Ingredients:

2 cans black beans

Whole wheat pitas

2 tablespoons sour cream

2 tablespoons plain greek yogurt

1/2 cup breadcrumbs

1/2 cup almond meal

1 egg white

1/8 onion

2 cloves garlic

1/8 cucumber

1/2 lemon

1/8 red pepper

1- 1 1/2 cups cooked quinoa

Salt 

Pepper

Taco seasoning

If desired:

Feta cheese

Sprouts

Tomatoes

Avocado

Red pepper

Summer-Inspired Simple Side

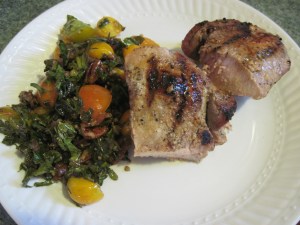
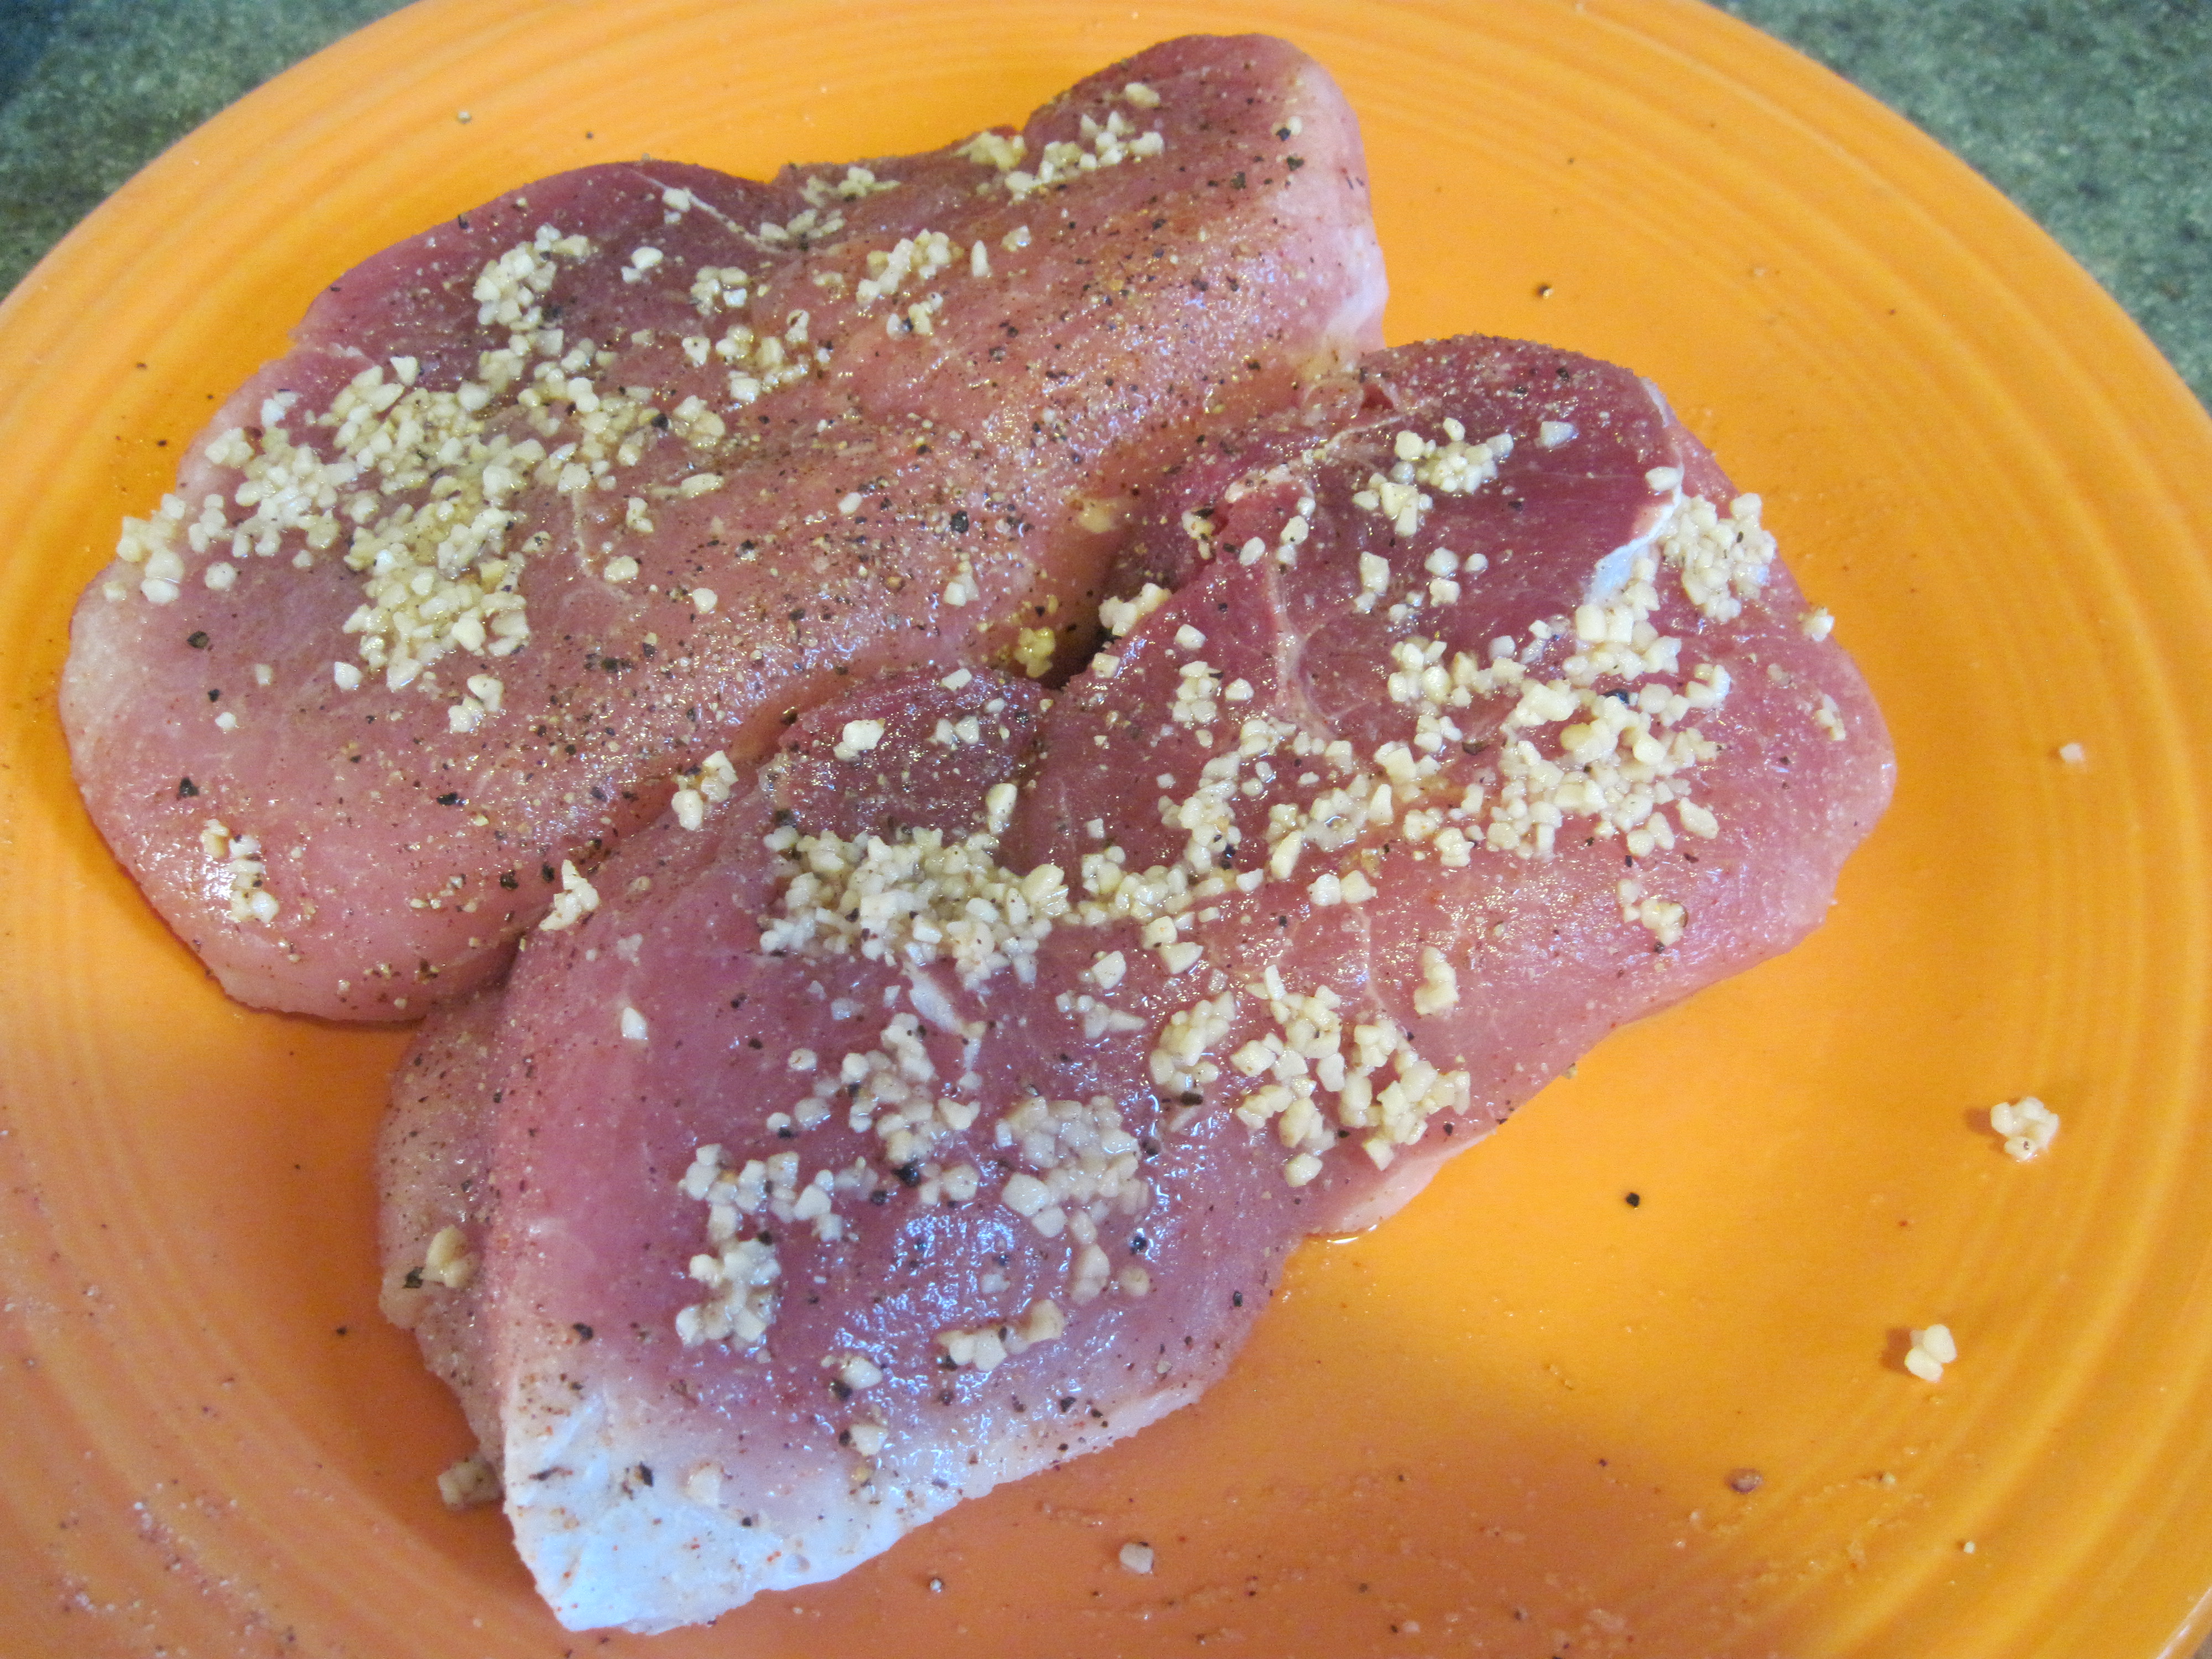
Sunday night I did not feel like going to the grocery store and decided to play, “What’s in the Cupboards?” Turns out I play this game a lot- sometimes I win, sometimes I lose. Turned out, there were pork chops in the freezer. I threw a nice dry rub of salt, pepper and onion salt on each side, accompanied by some minced garlic (I often cheat and buy the pre-minced garlic).IMG_2025


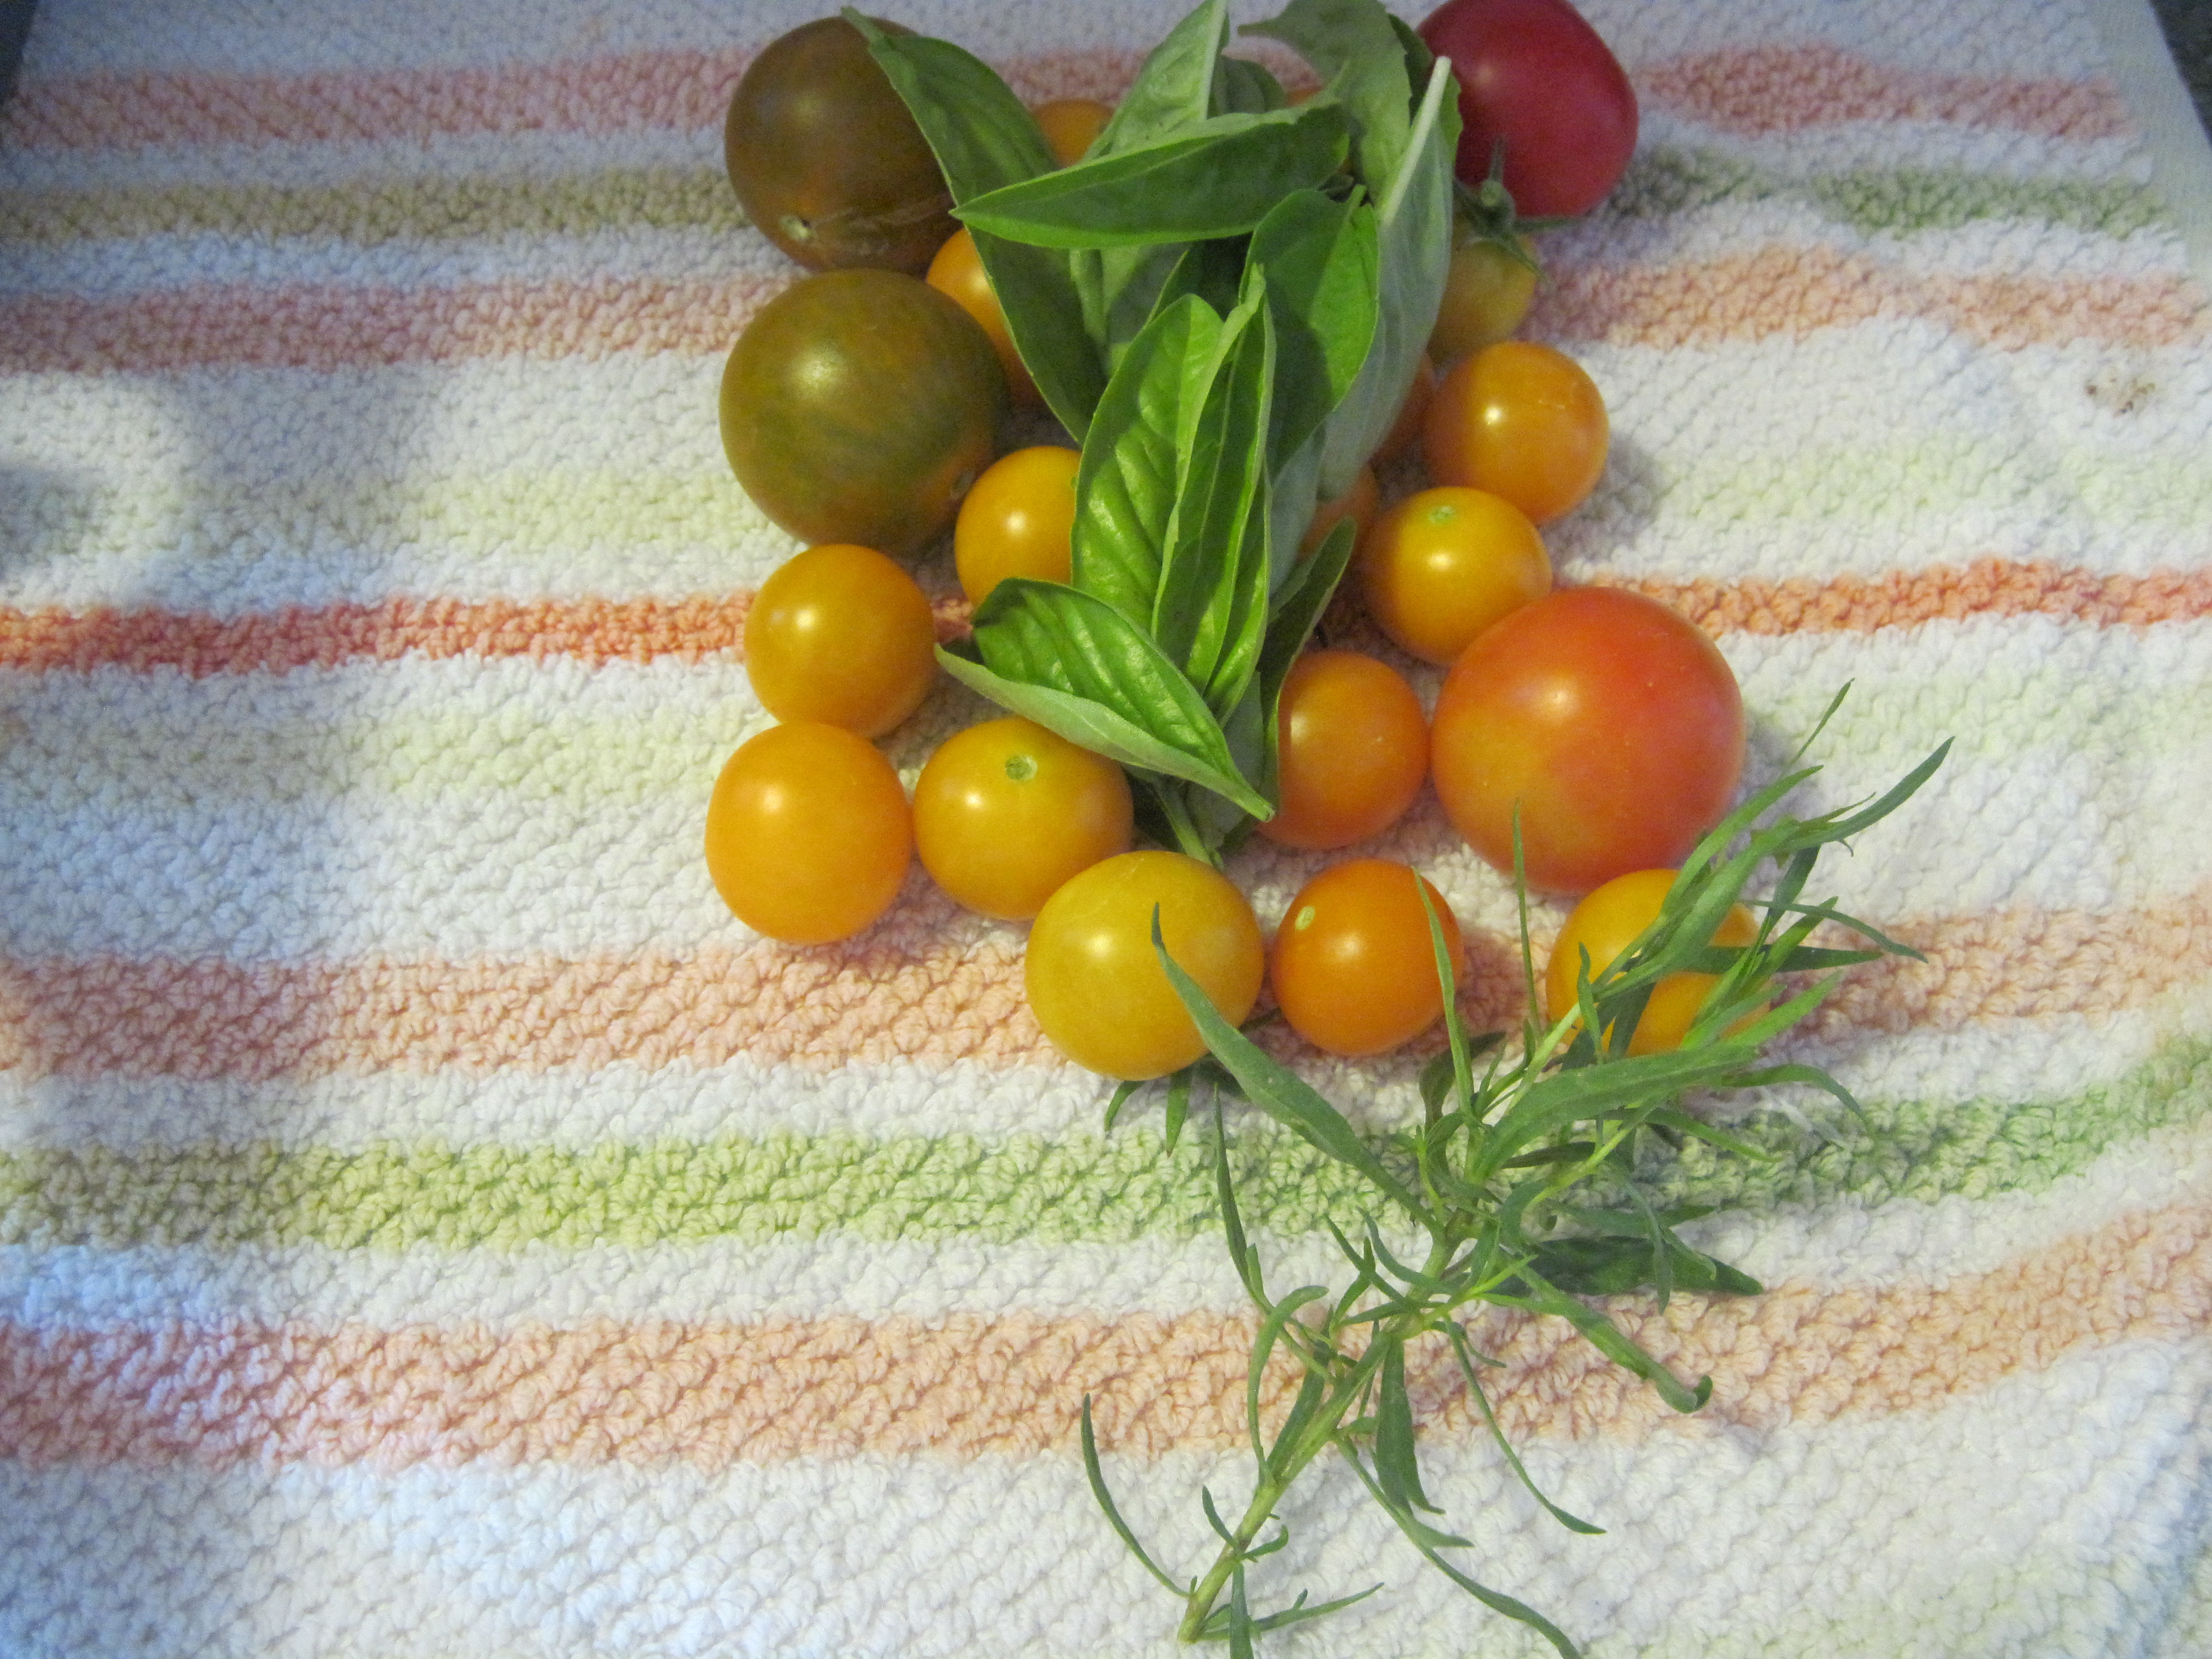
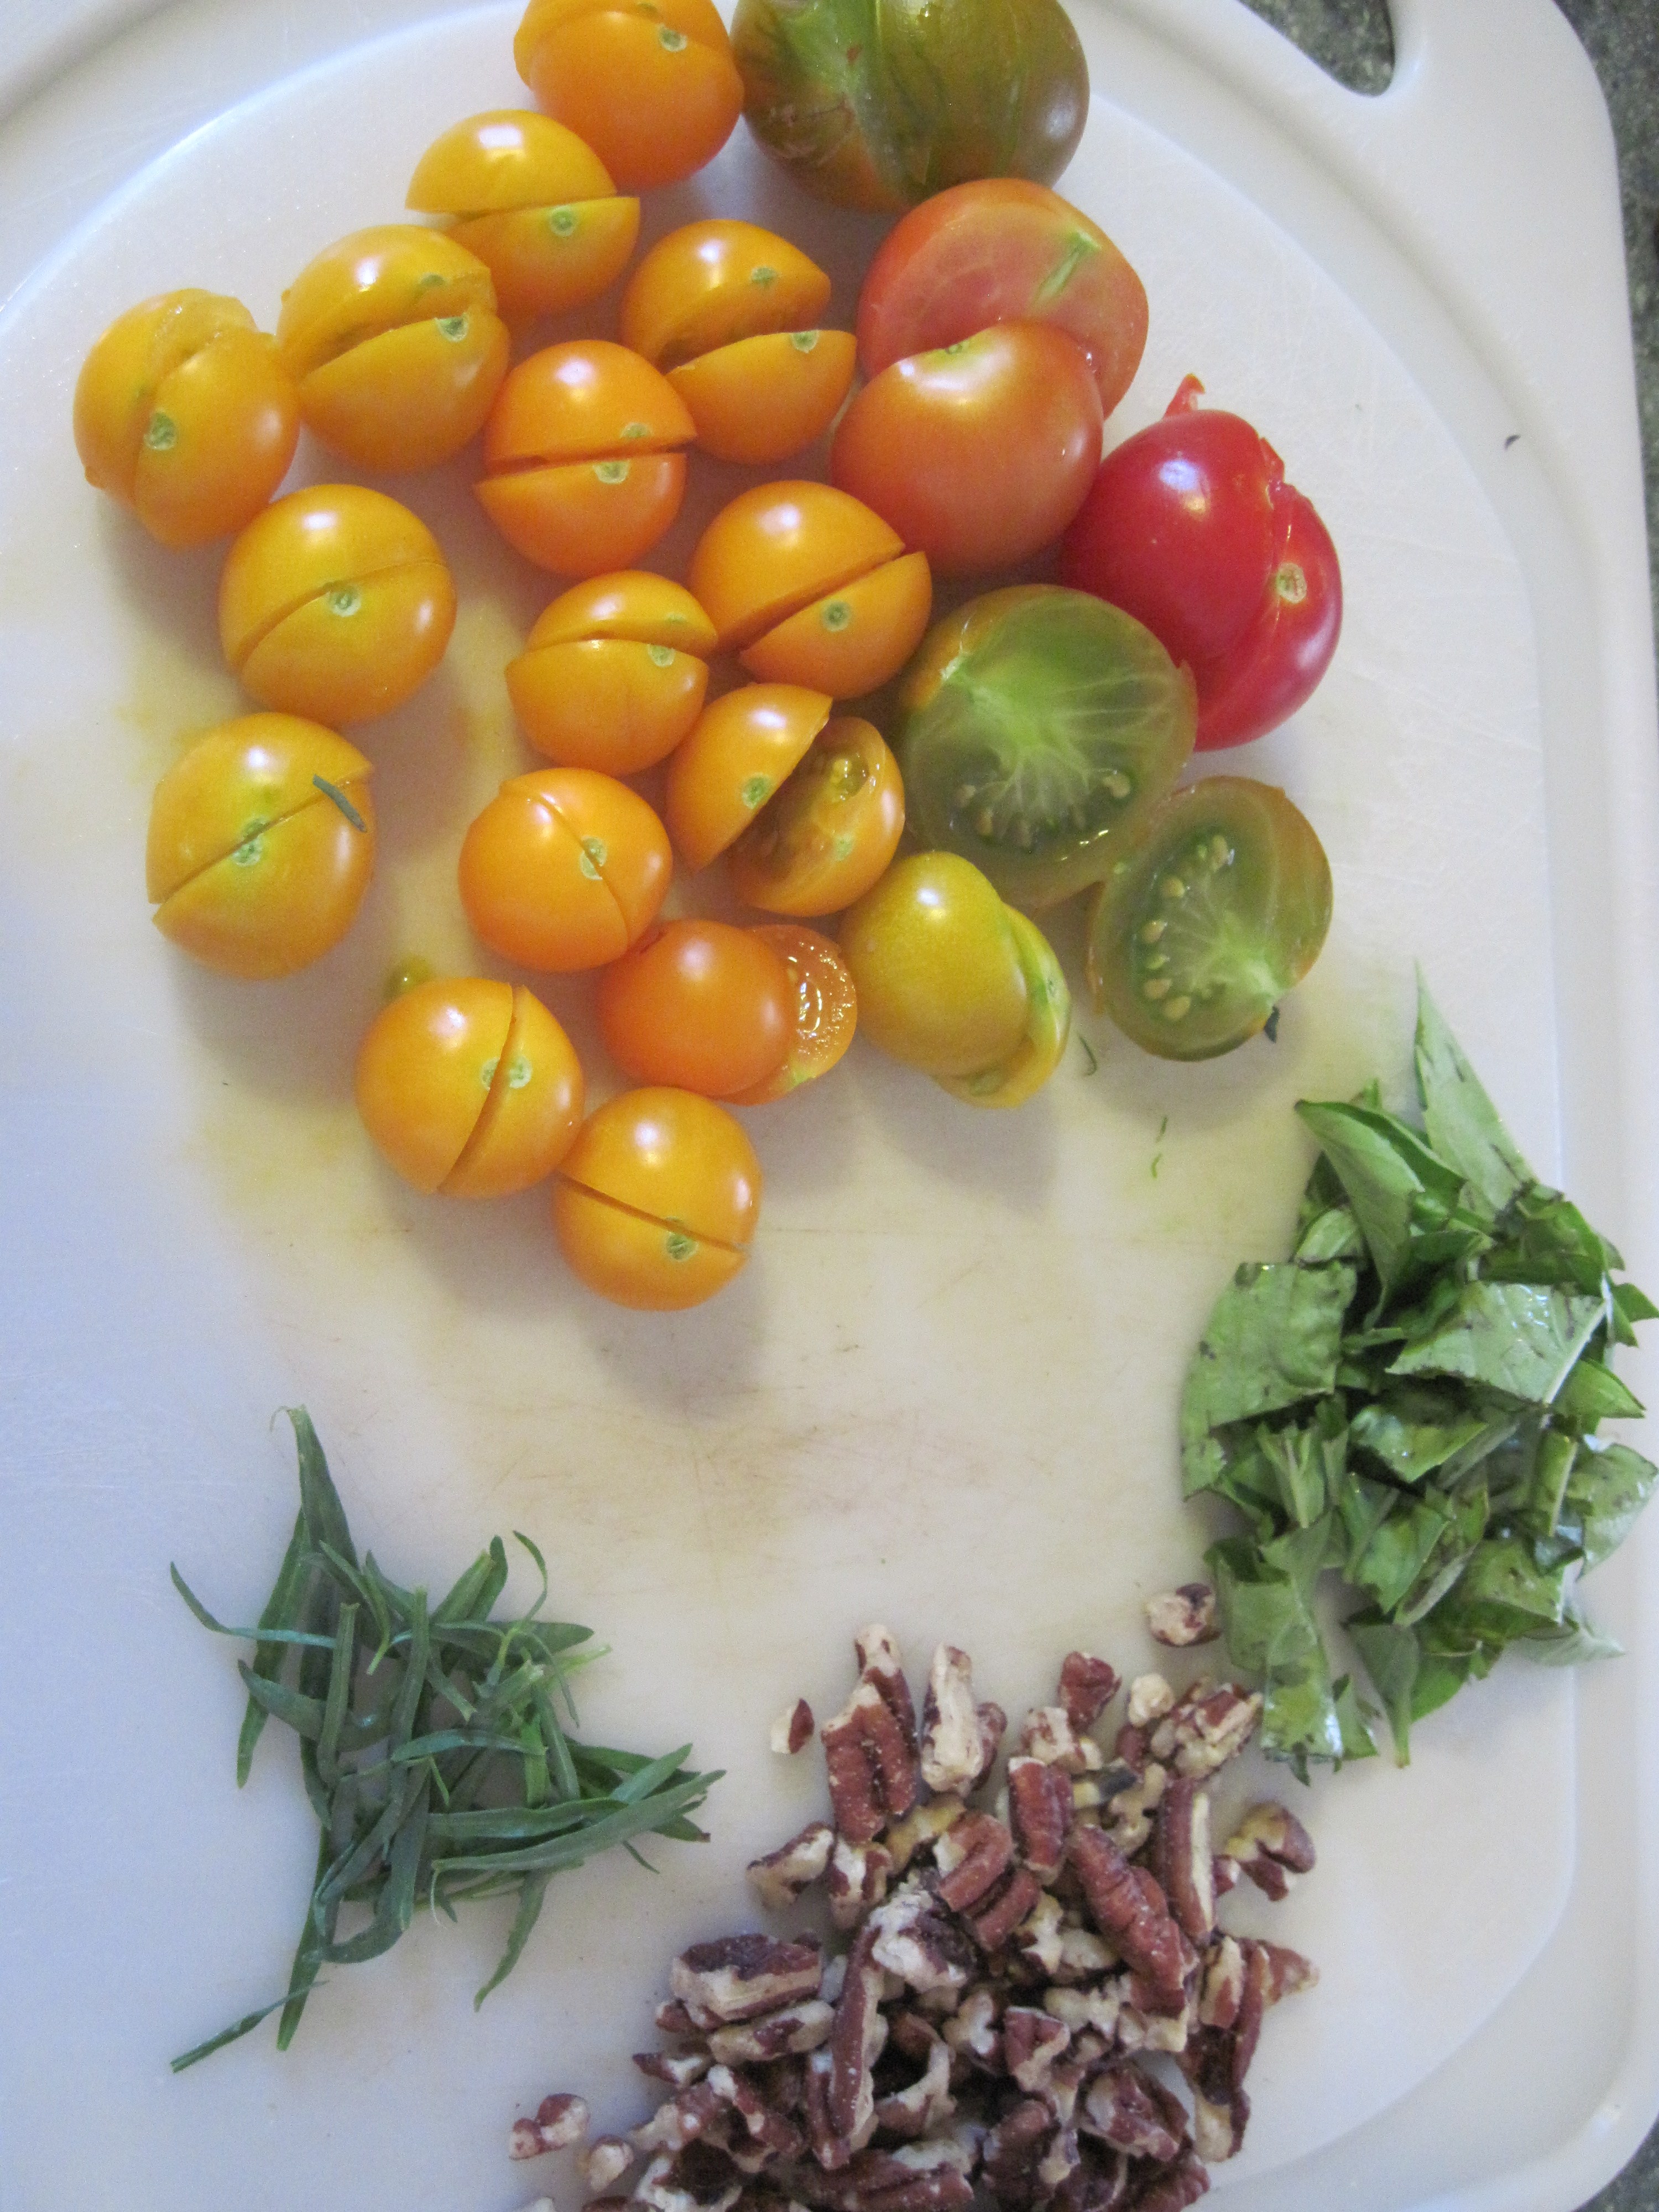
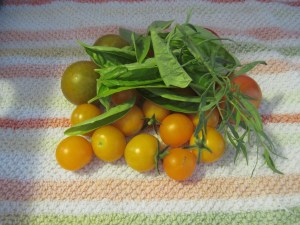
So, what to go with these soon-to-be grilled pork chops? Finding little to work with in the fridge or cupboards, I turned to the garden. My fiance and I are first time gardeners, and nothing has really taken off, but there was a little bit to work with. First, there was kale, which I decided would work well for the base of this dish. In addition, there were enough cherry tomatoes, basil, and tarragon that a creation could be formed. I scoured the cupboard for some nuts, and lo and behold, pecans!

IMG_2015

Wait, it looks like more when I stack it!

IMG_2014

Seriously, though, for this recipe you will need:

Kale: at least two cups; think about a cup per person- if you are doing this as a meal rather than a side dish, I suggest more

Basil: 10 leaves

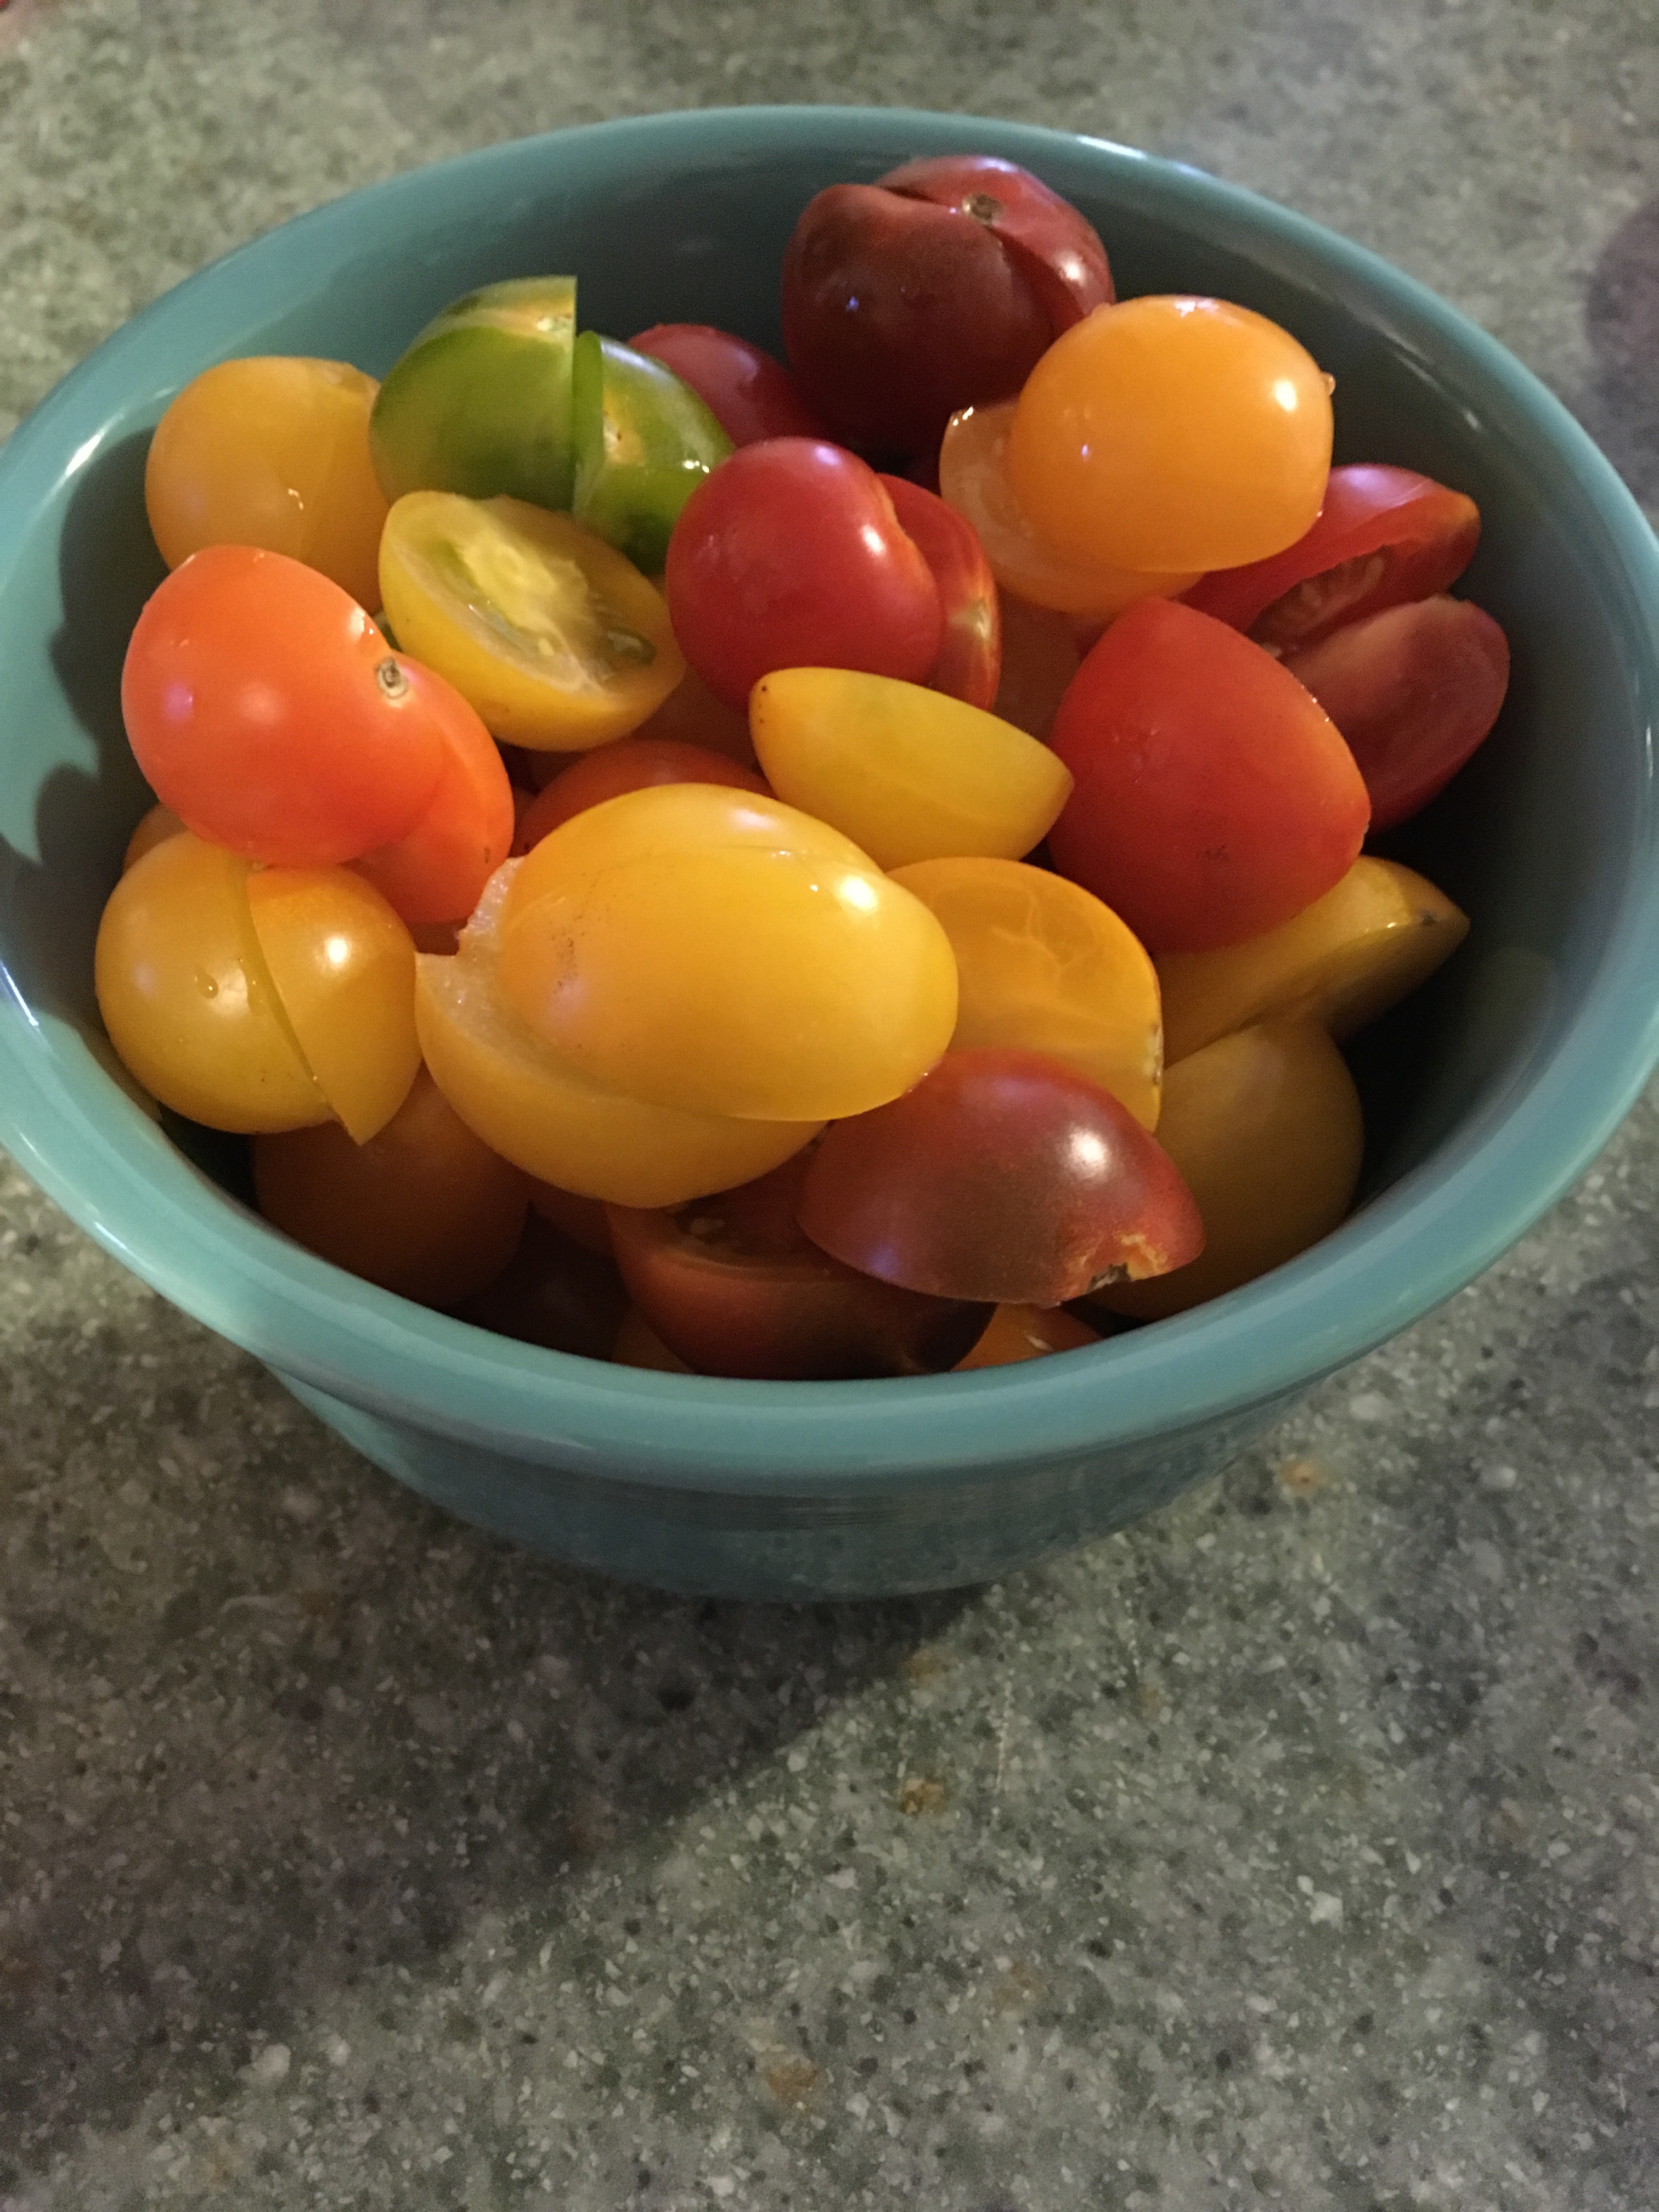
Cherry tomatoes: 10-20

Tarragon: a few stems

Minced garlic: 1 tablespoon

Olive oil: 2 tablespoons

Balsamic vinegar: 1 tablespoon

Crushed nut of your choice (pecans, almonds, walnuts): 1/2 cup

Salt and pepper

DISCLAIMER:  I am not a recipe follower. I view recipes as guidelines, a jumping off point if you will. So, I am doing my best to give some exact measurements; however, if you too feel like using this recipe, or any other, as a guideline, more power to you! If you have fresh squash, zucchini, carrots, peas, in your garden (or fridge), throw them in. Use more kale if you love it; if you hate it, substitute it with spinach, or do half and half!

This is what I did….

I chopped my kale and other veggies, and crushed my pecans. (I would have preferred walnuts, but pecans were what I had.) I suggest removing the middle stem part of the kale.

IMG_2012

IMG_2028

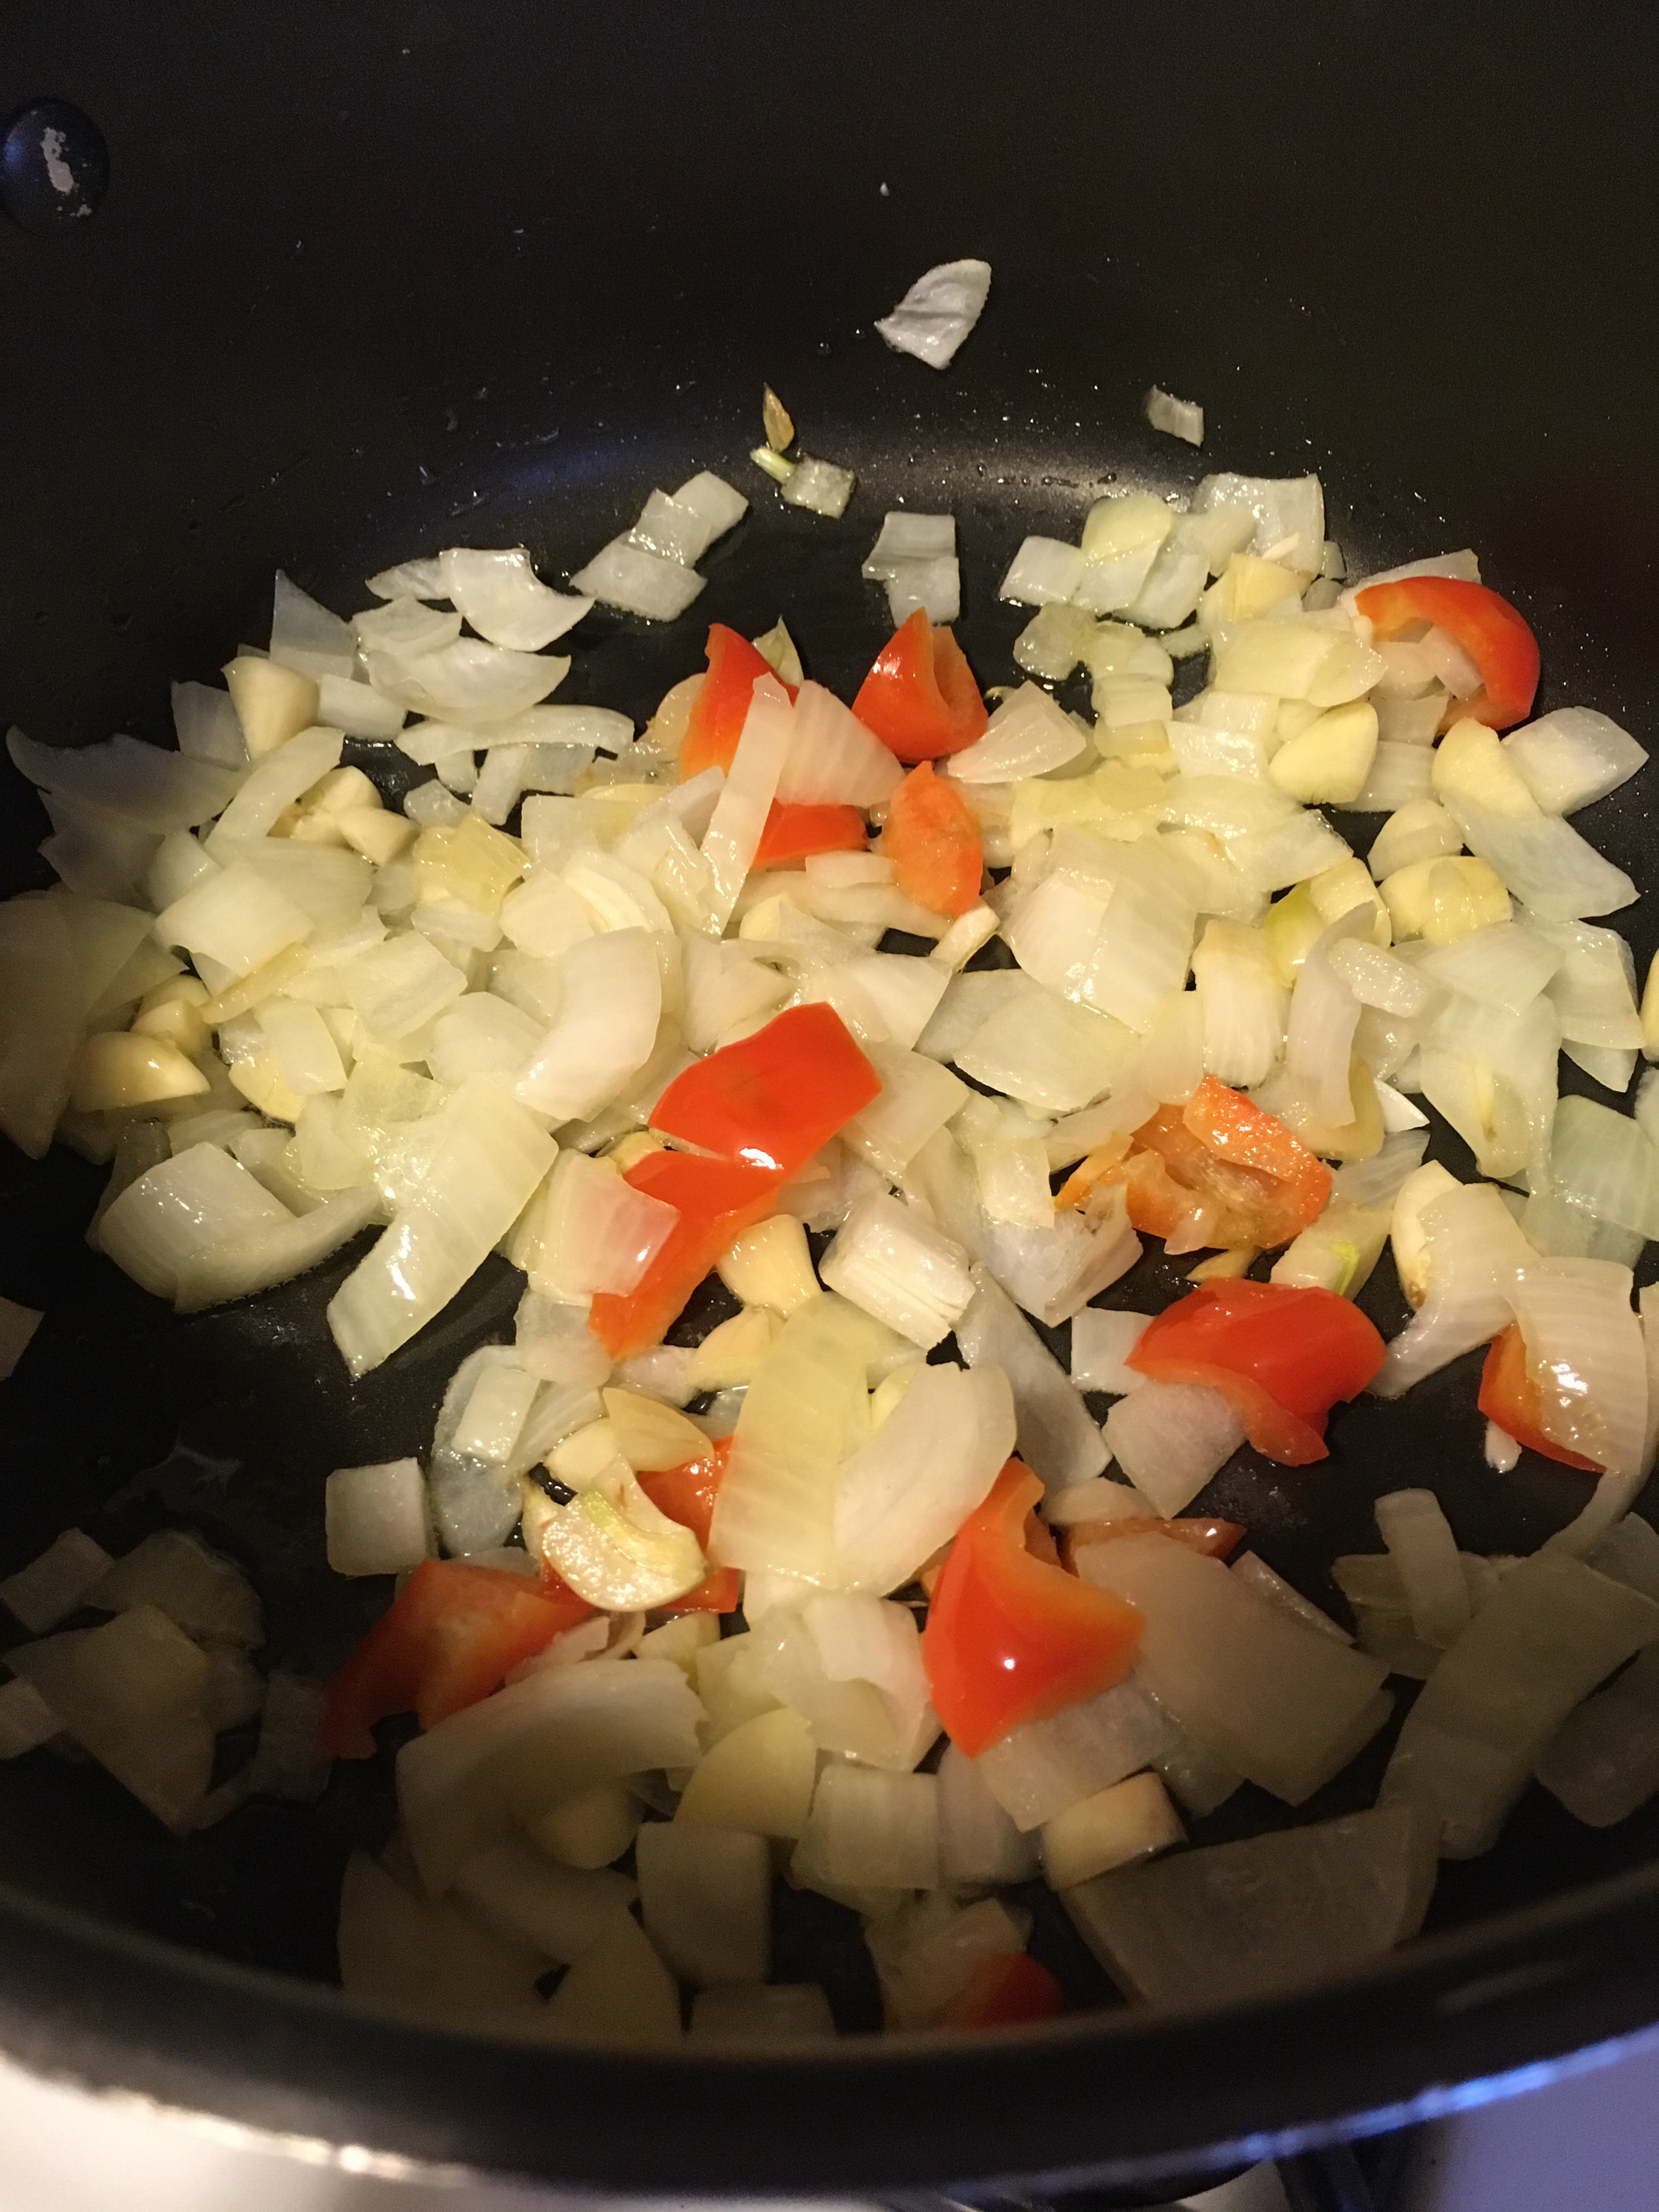
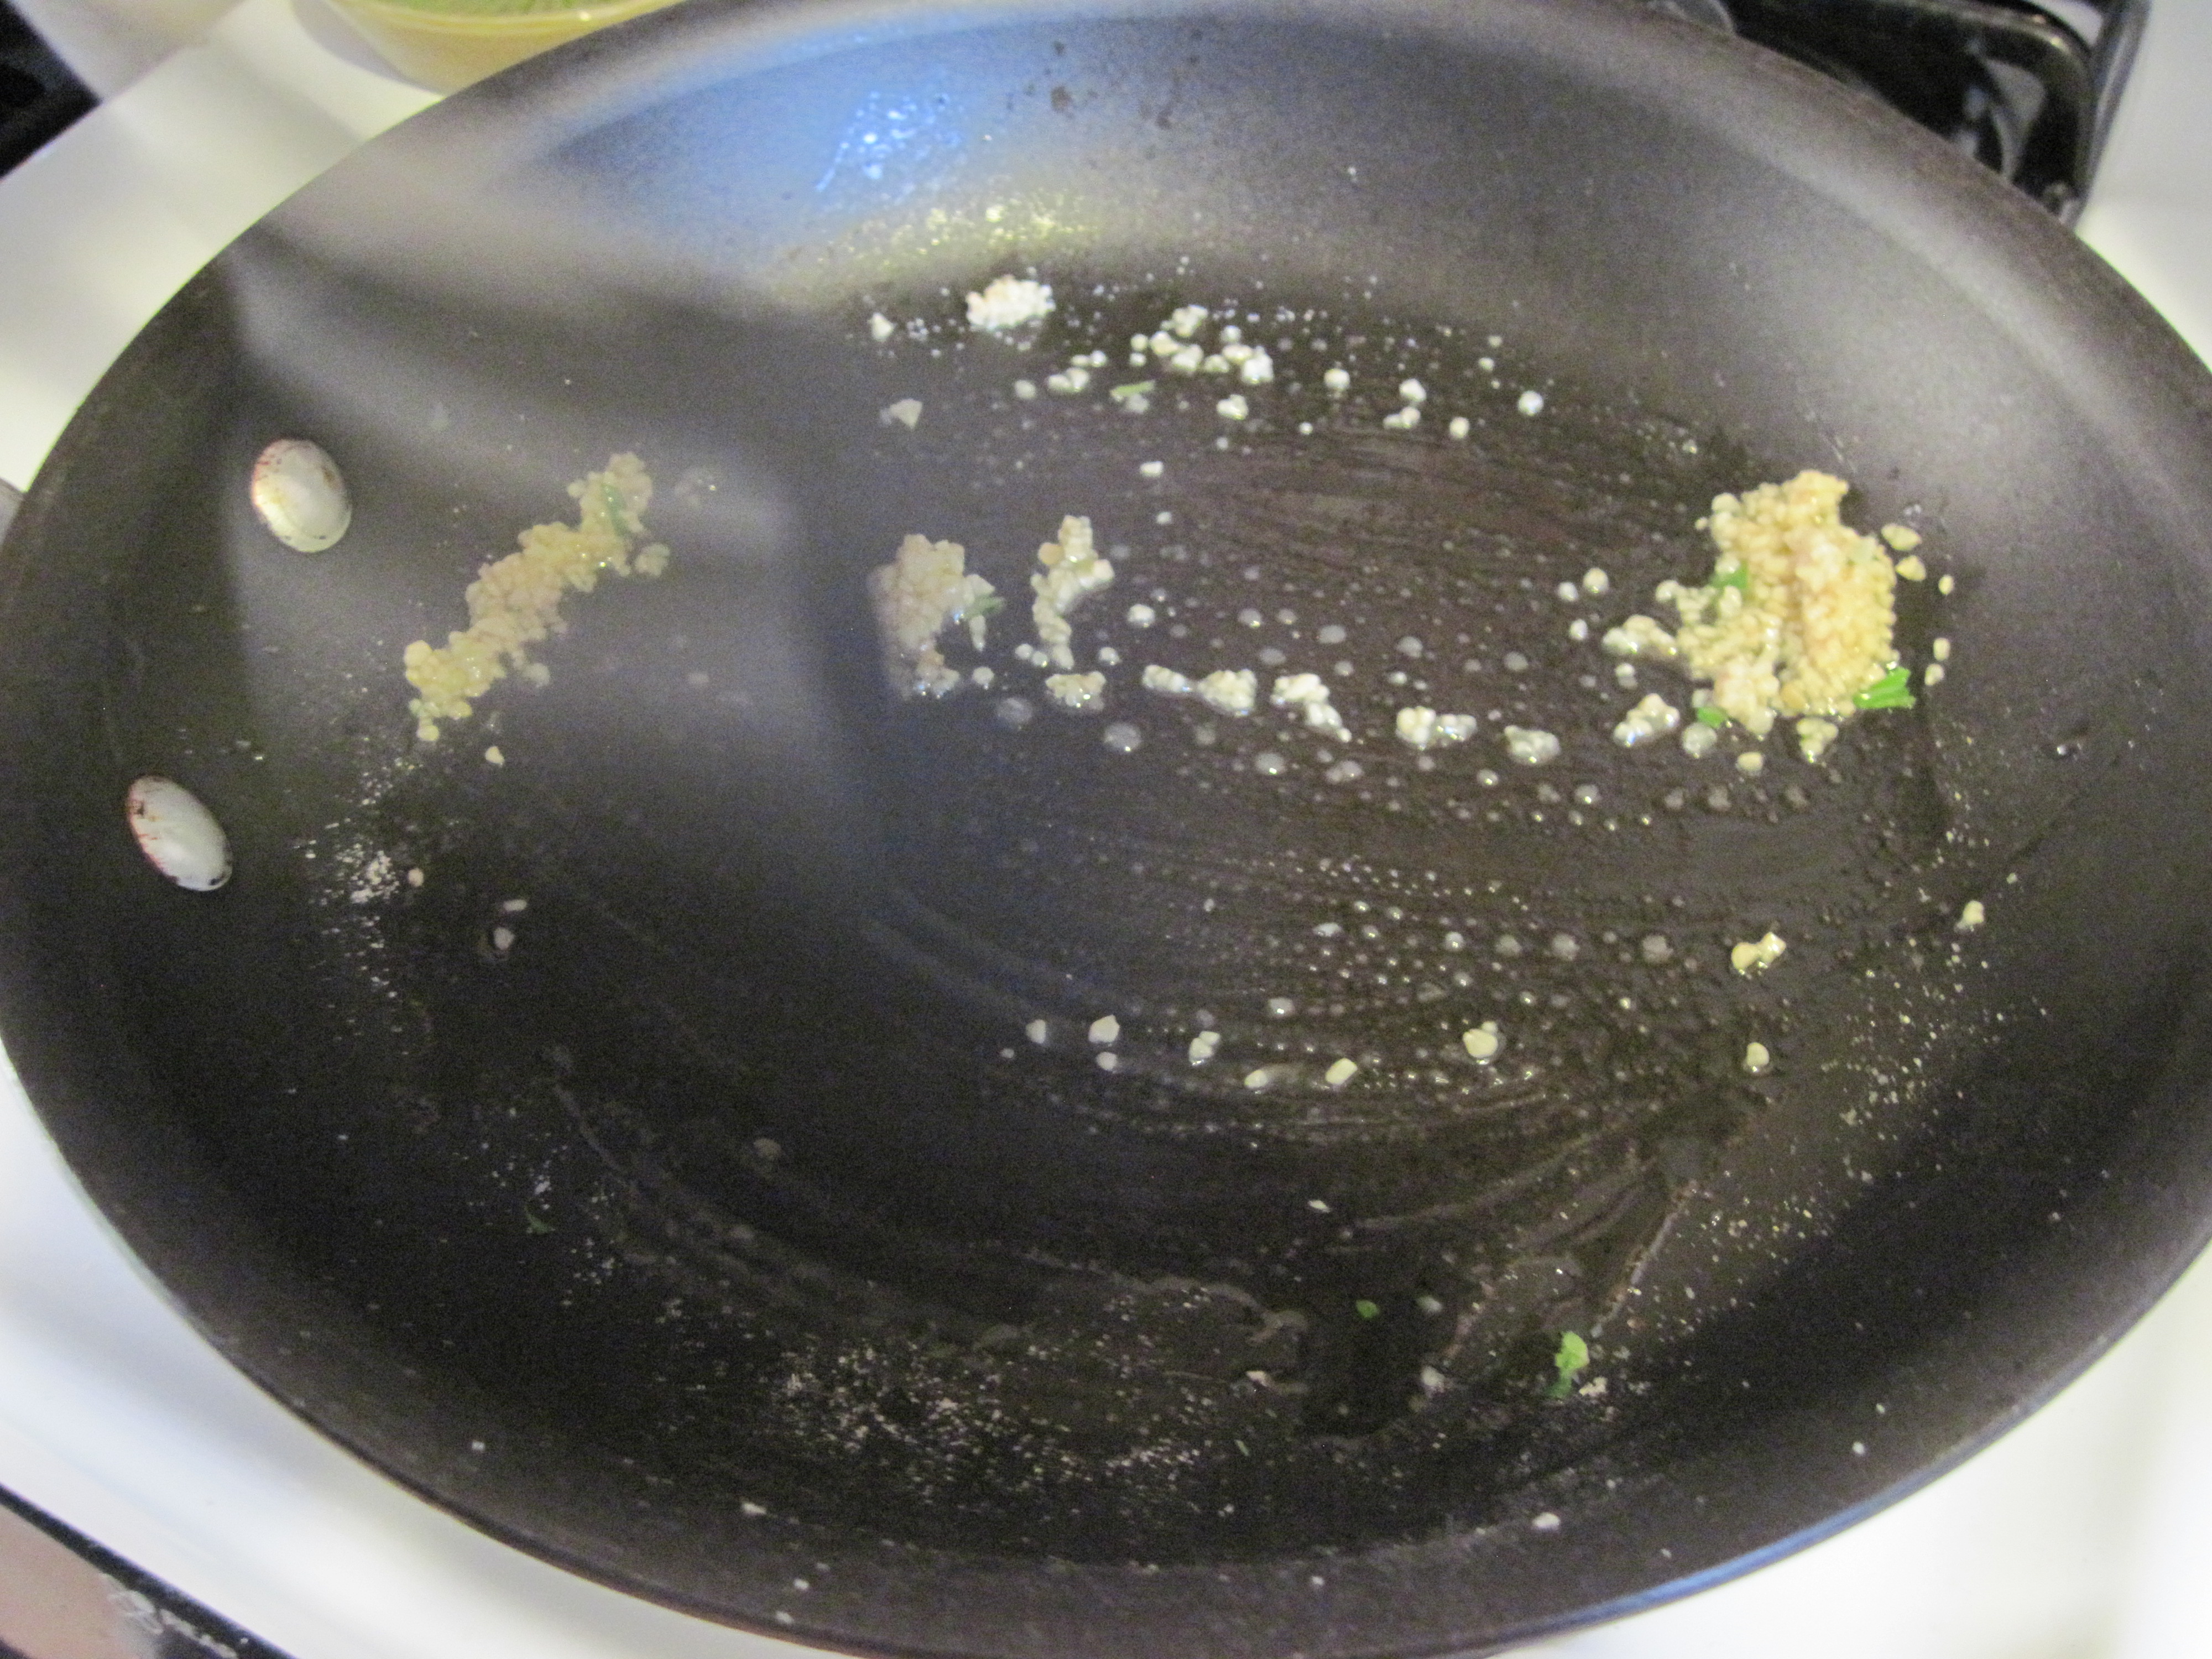
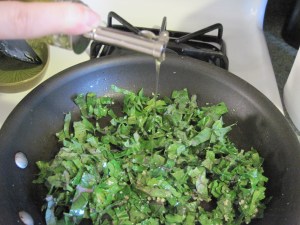
Then, I got out a frying pan, turned my burner to medium heat and put about a tablespoon of olive oil in the bottom. Then, I added about a tablespoon of minced garlic.
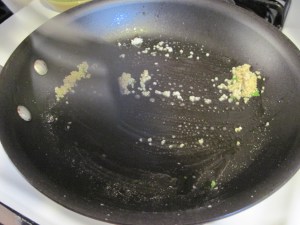
 

IMG_2027

Cooking Garlic


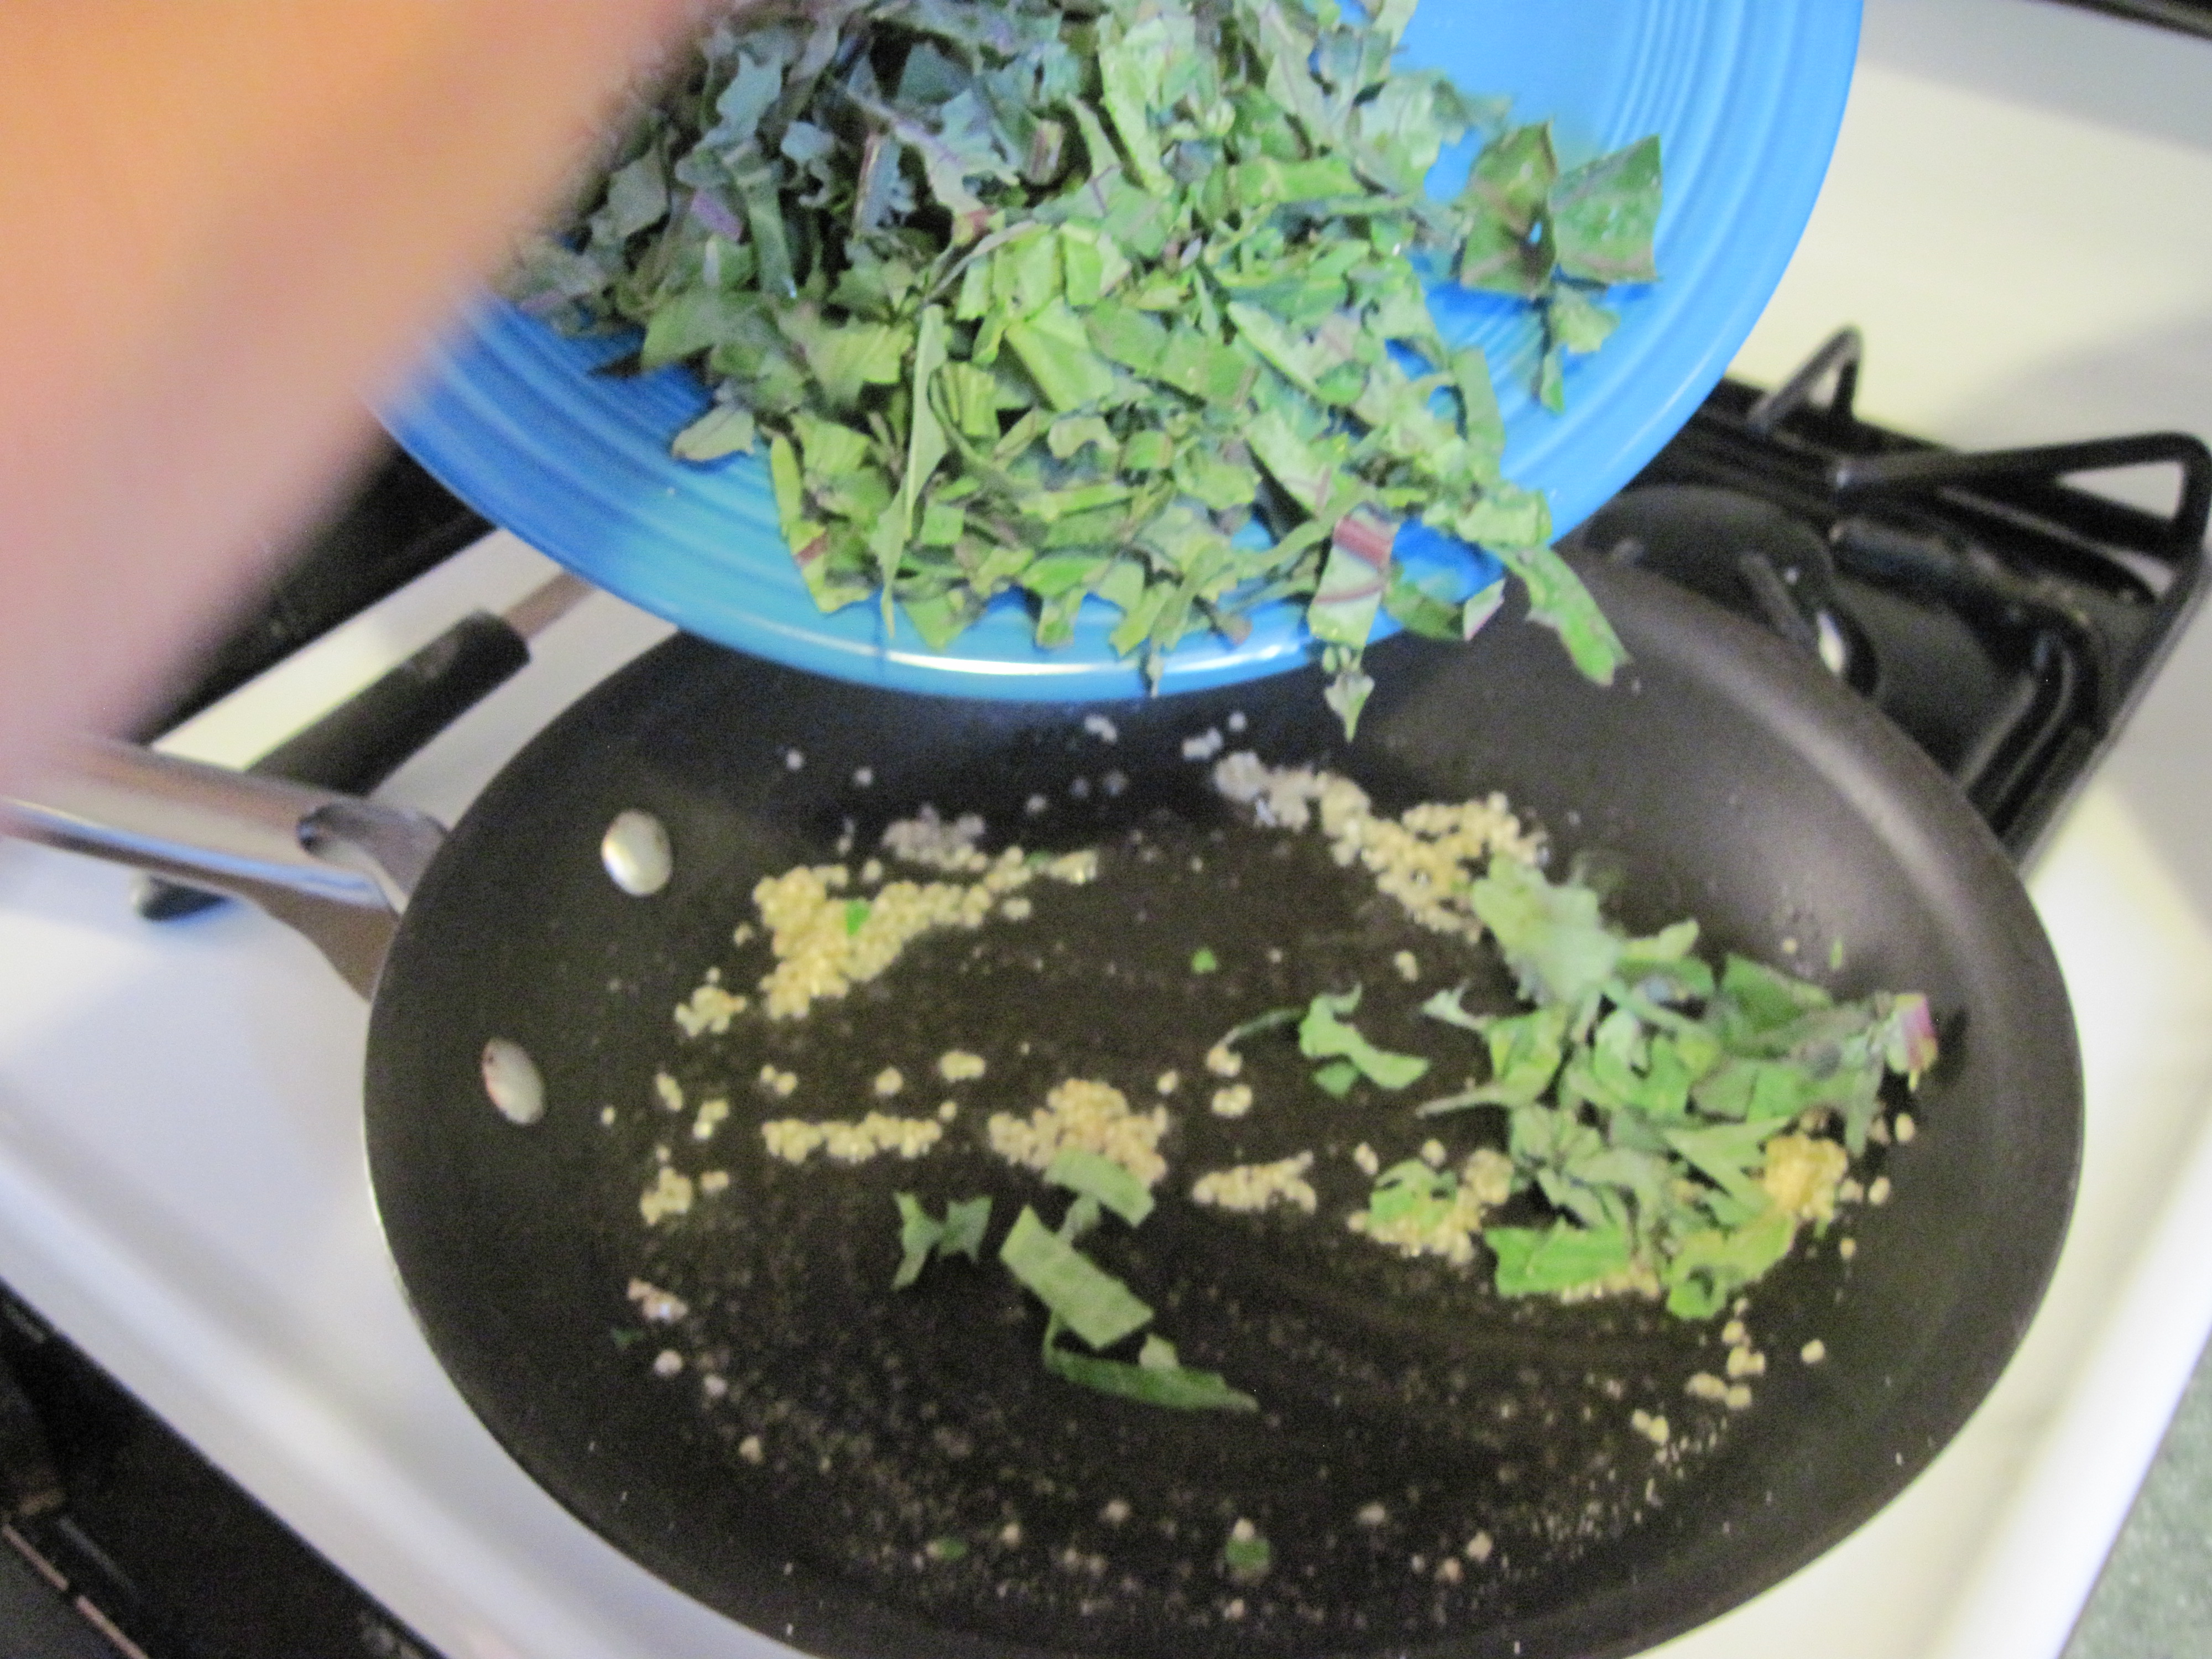
After about a minute, I added my chopped kale. This is a quick recipe, and kale takes the longest to cook, so in first it goes. If you use onion, peppers, or zucchini, I suggest putting them in before the kale and giving them a few minutes to soften. 

IMG_2029

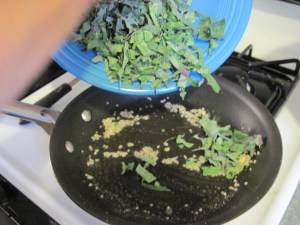
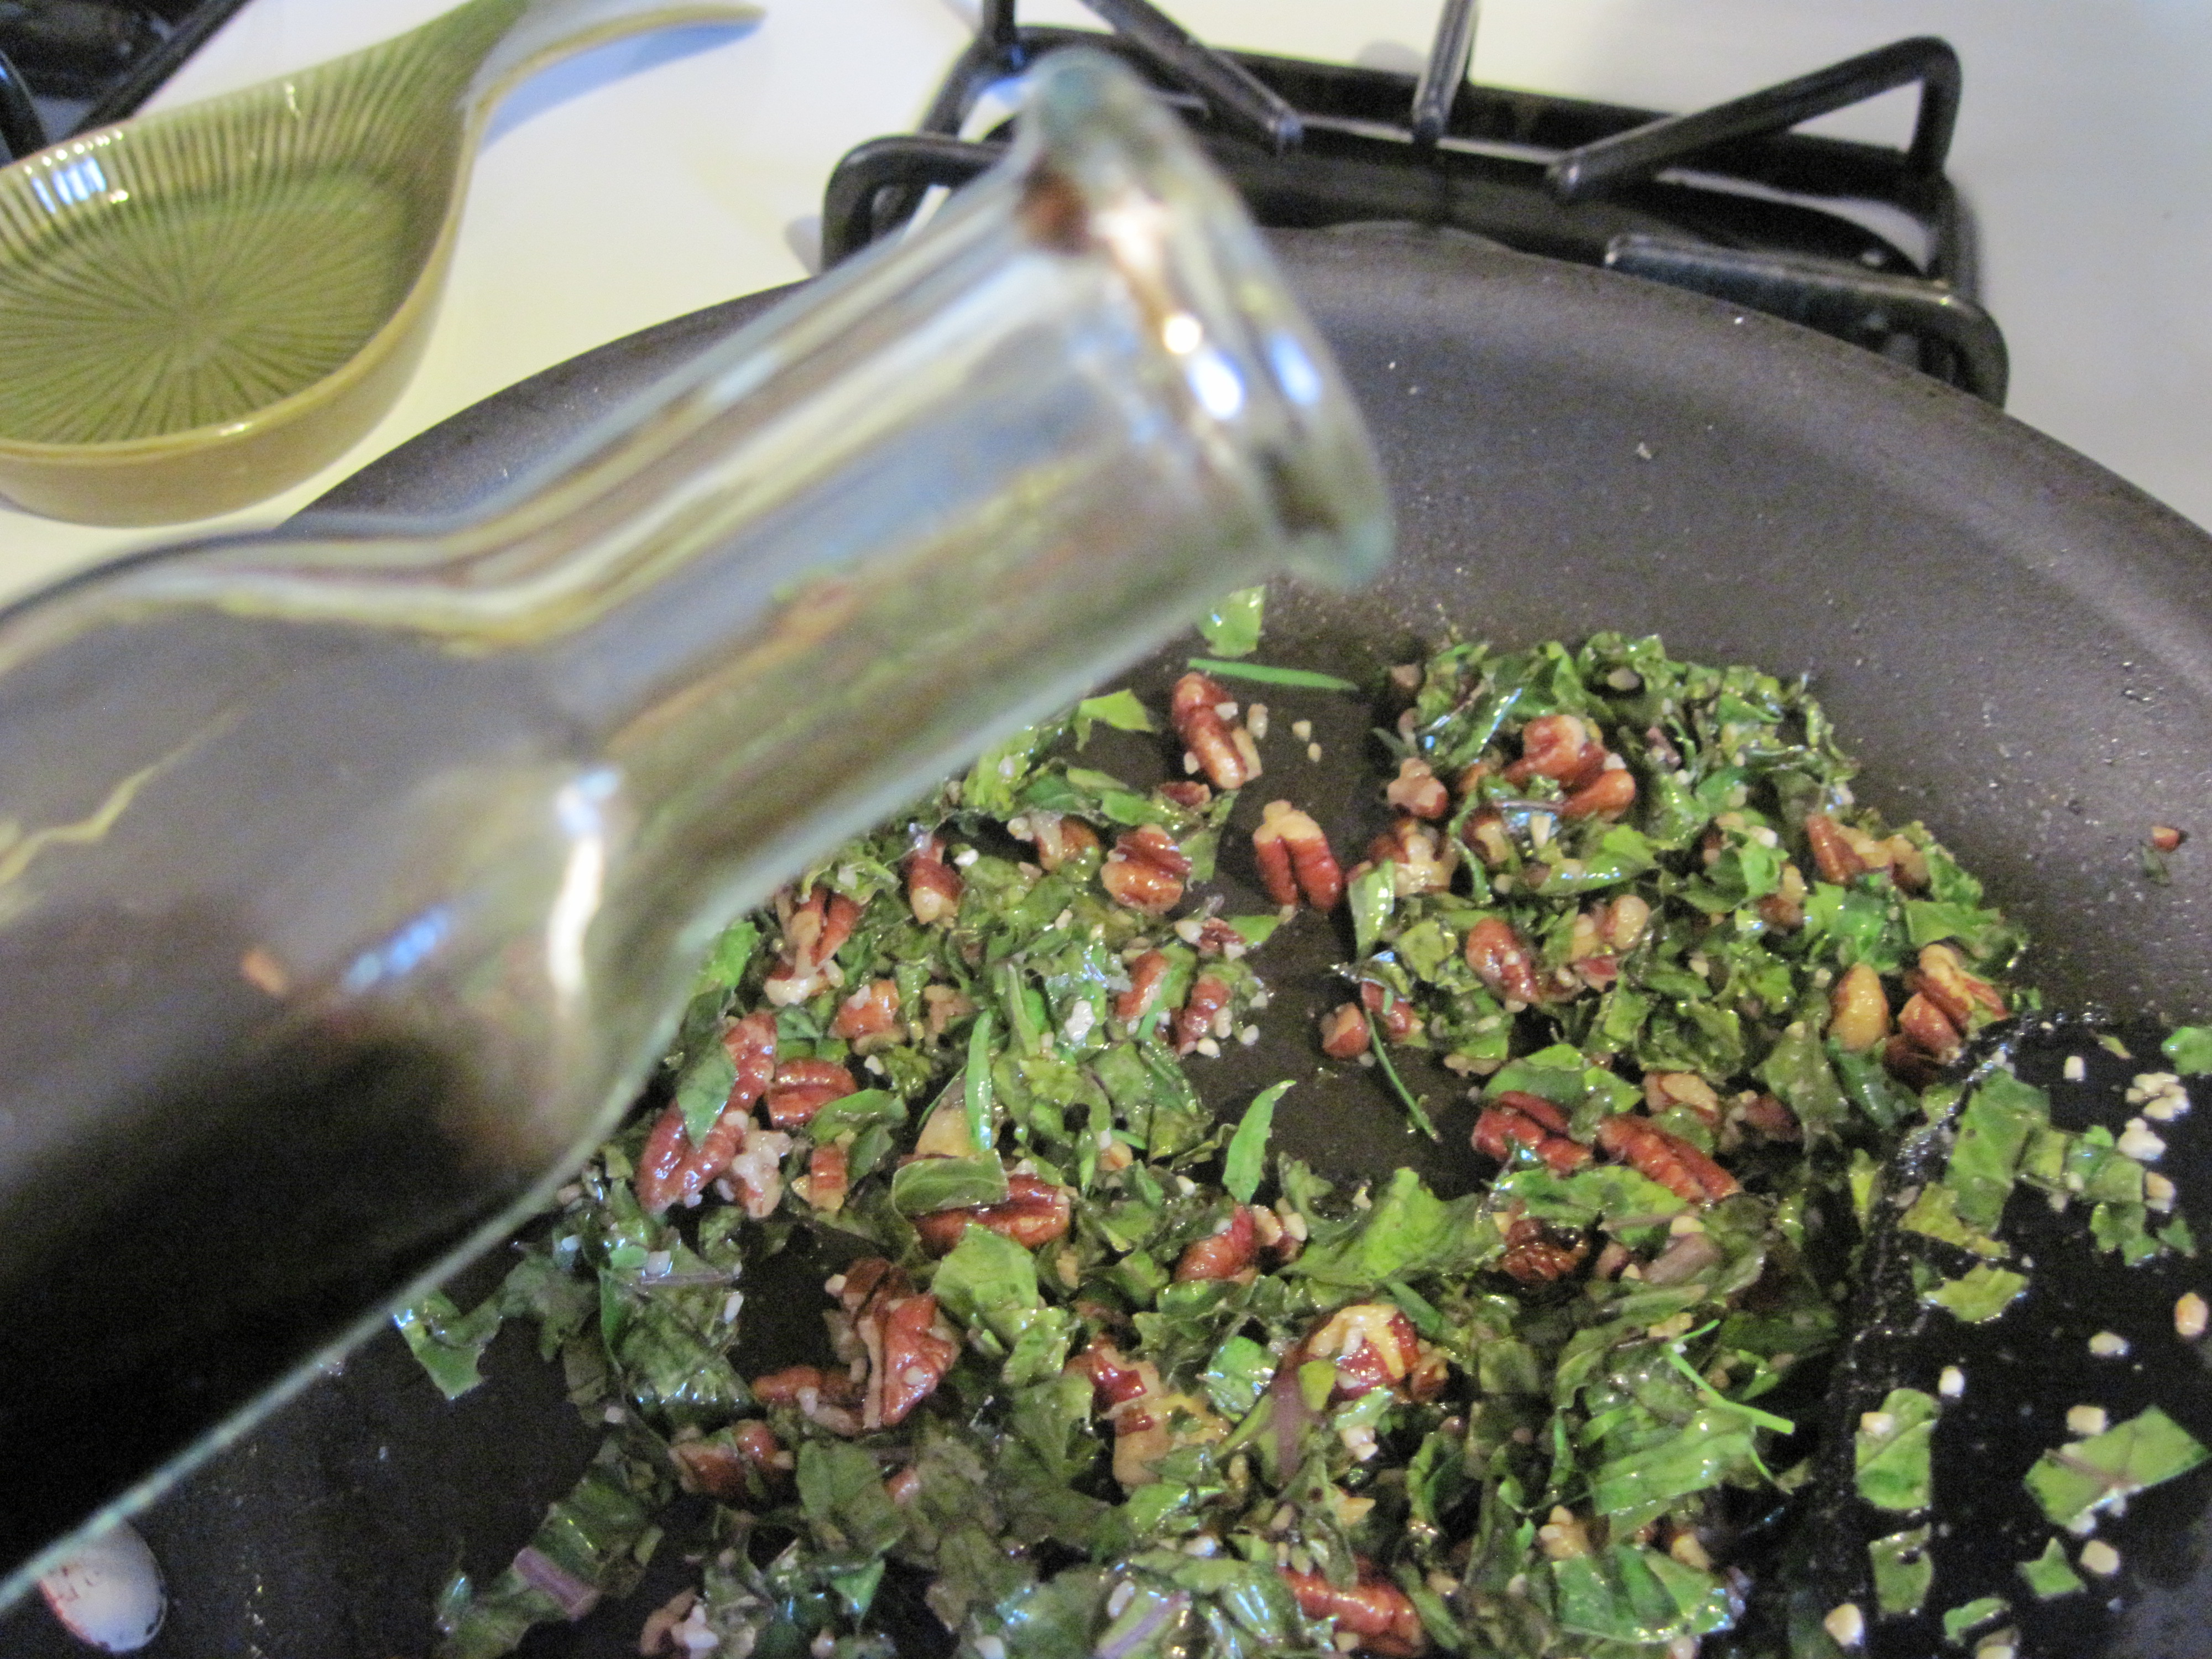
After about 4 minutes, I added the basil. And… another 1/2 tbsp of olive oil. I also added salt and pepper– never forget the salt and pepper!

IMG_2031


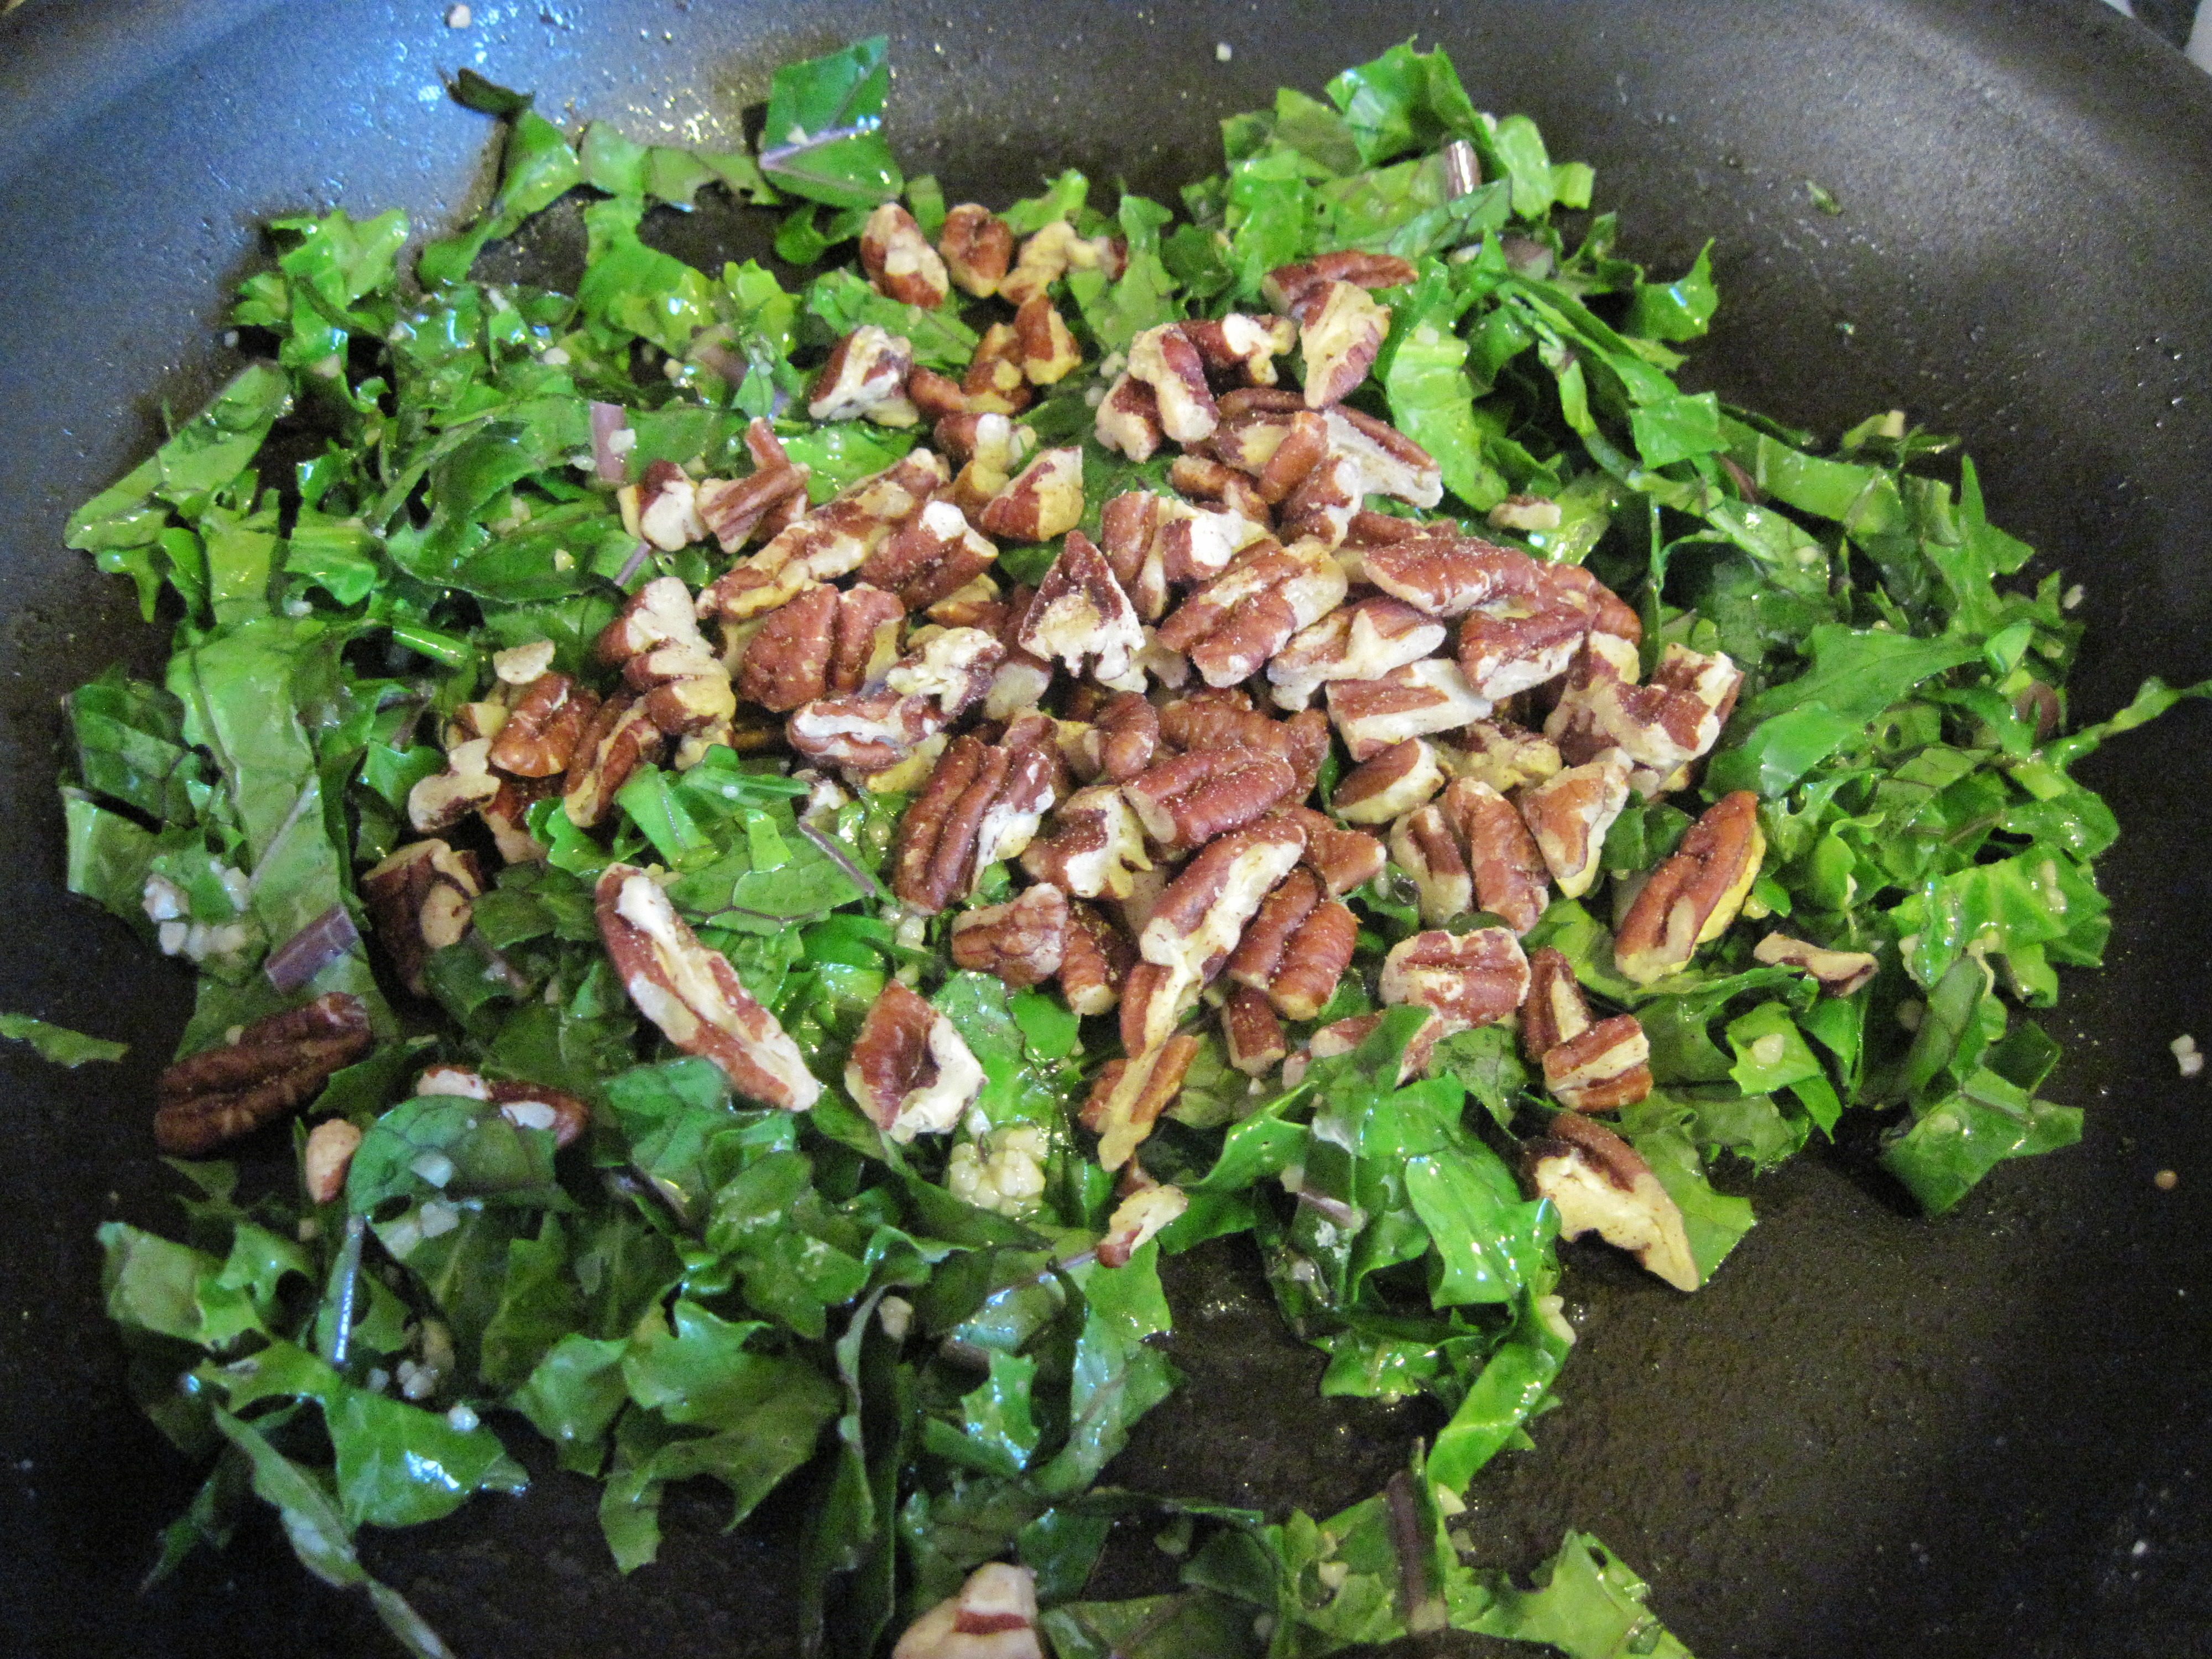
Give everything a nice stir, let it cook for a minute or two to let the flavors begin to meld. Then, add the pecans.

IMG_2032

Add the tarrogon and stir…..

IMG_2035


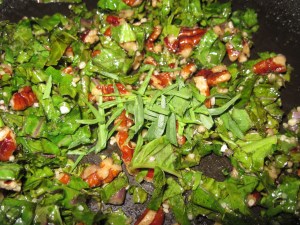
At this point, I said, “What the heck?” and added a teaspoon of balsamic vinegar.

IMG_2036

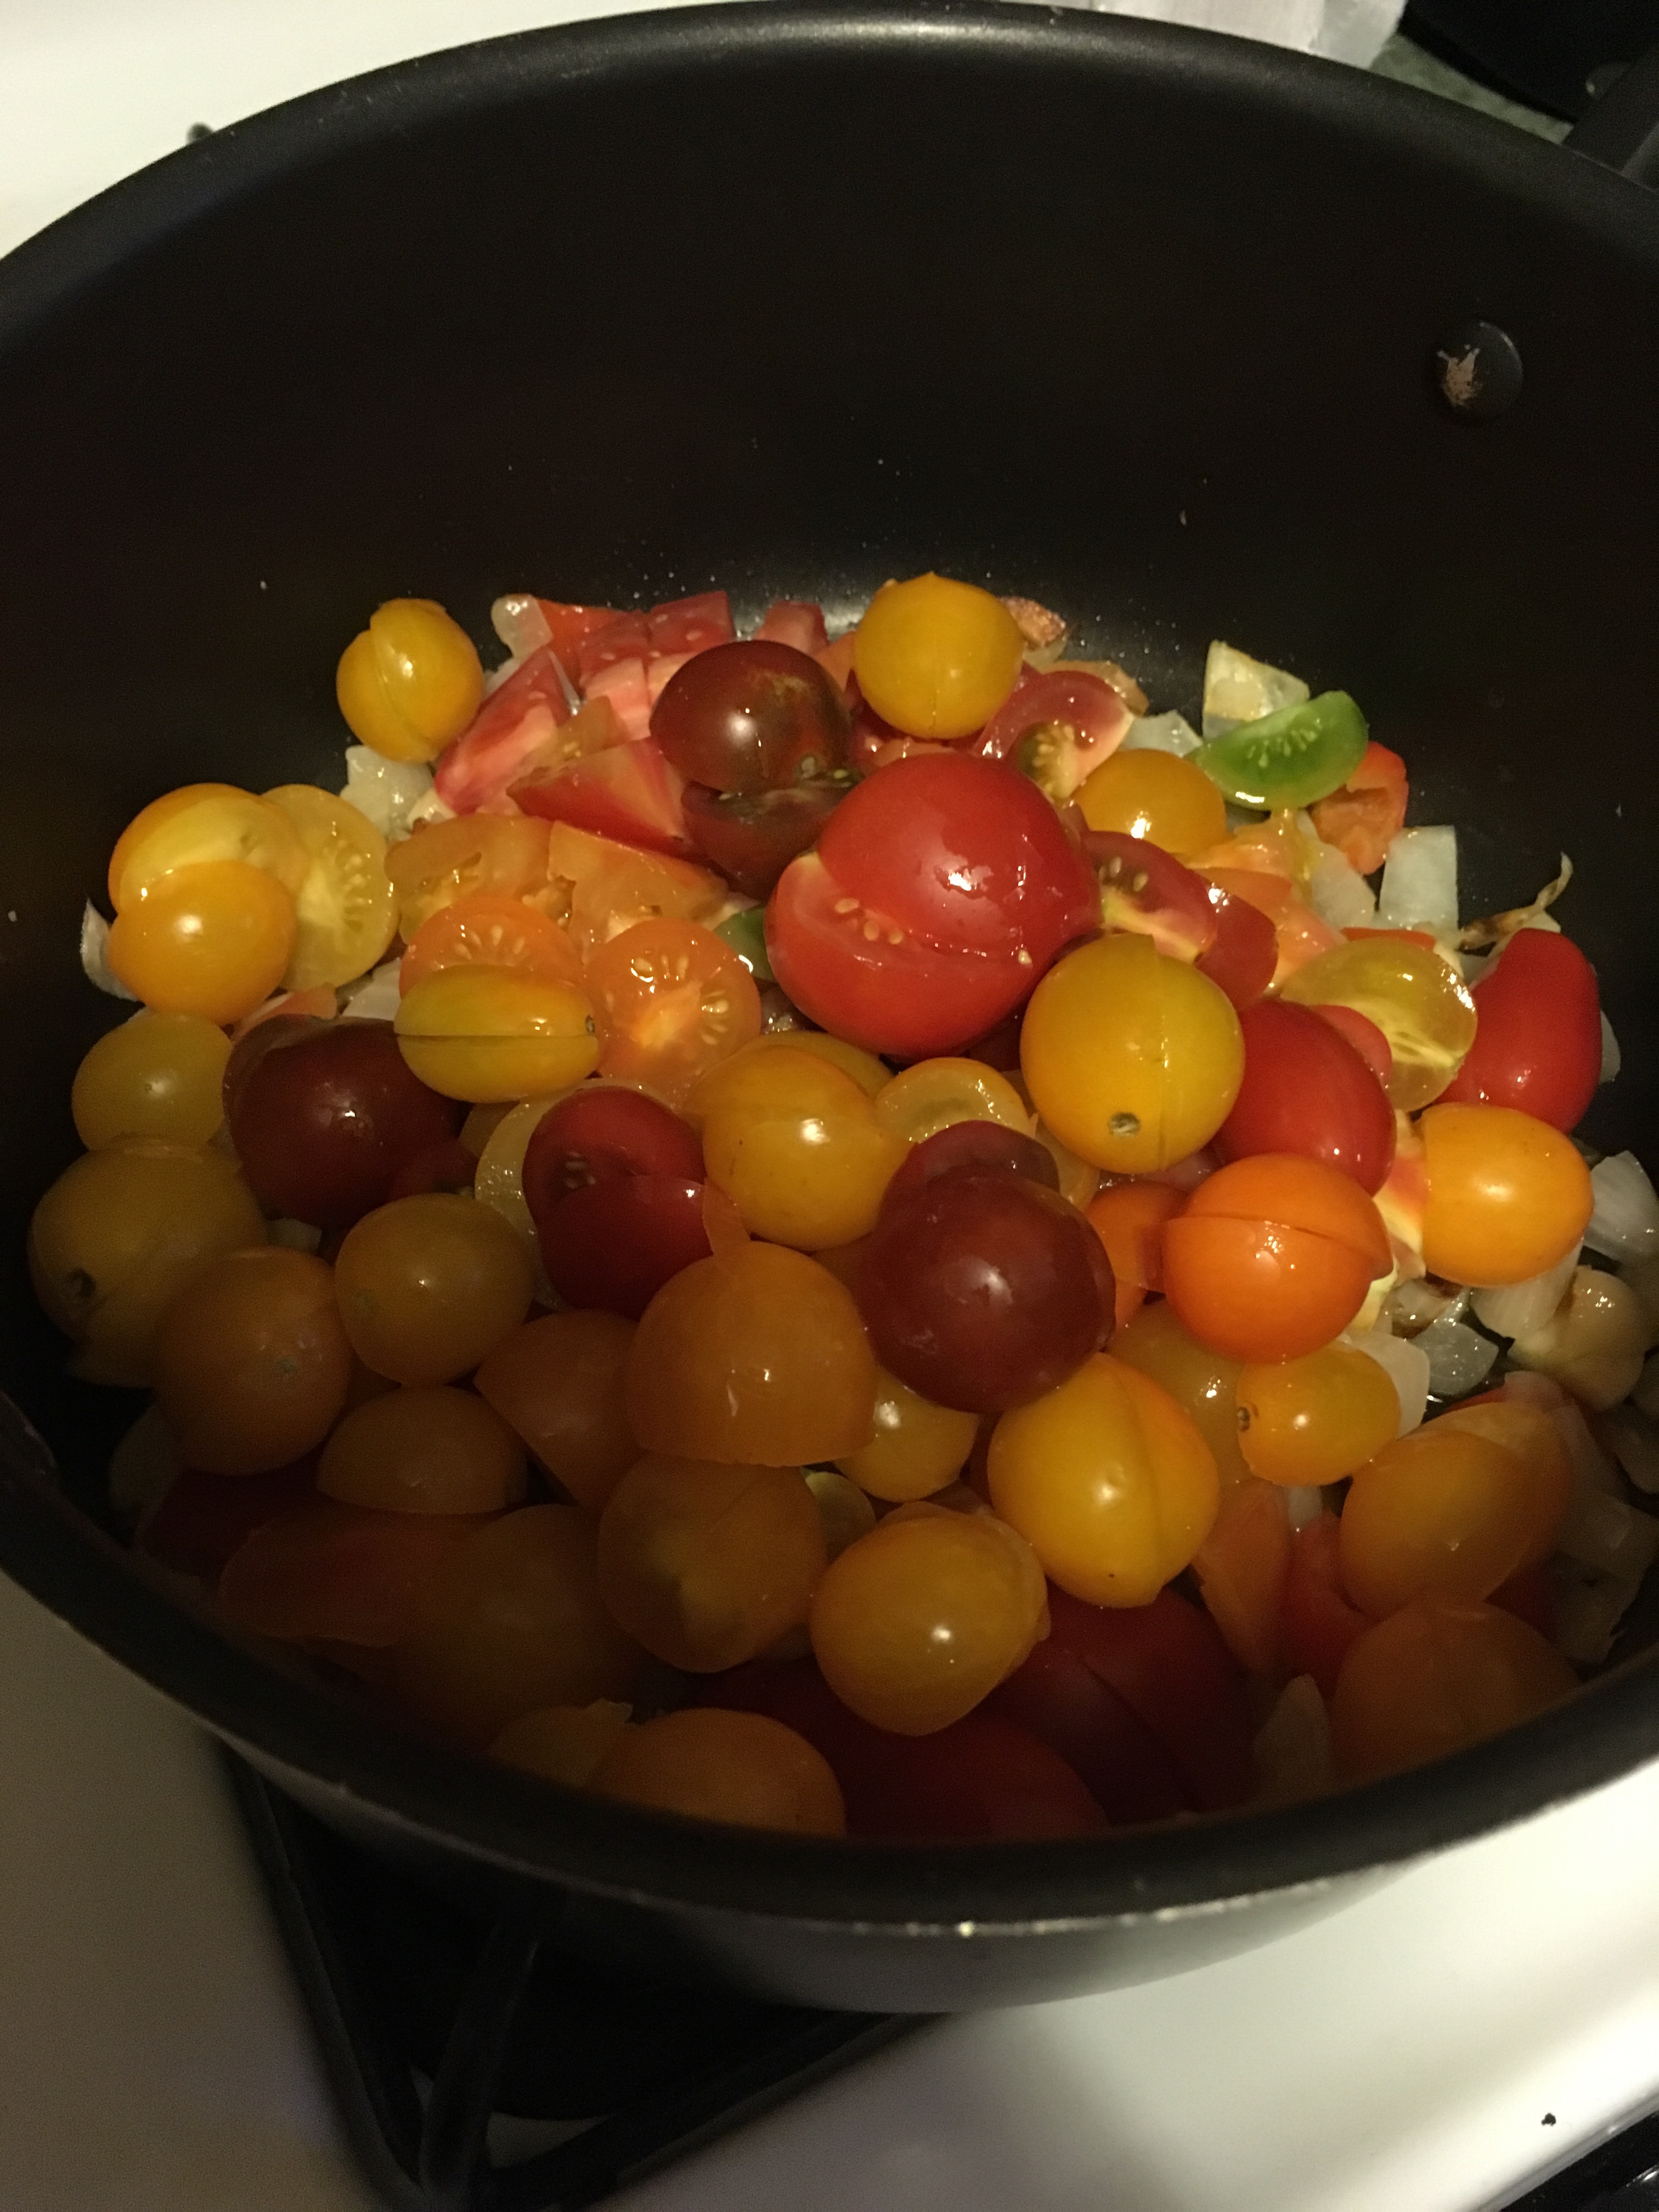
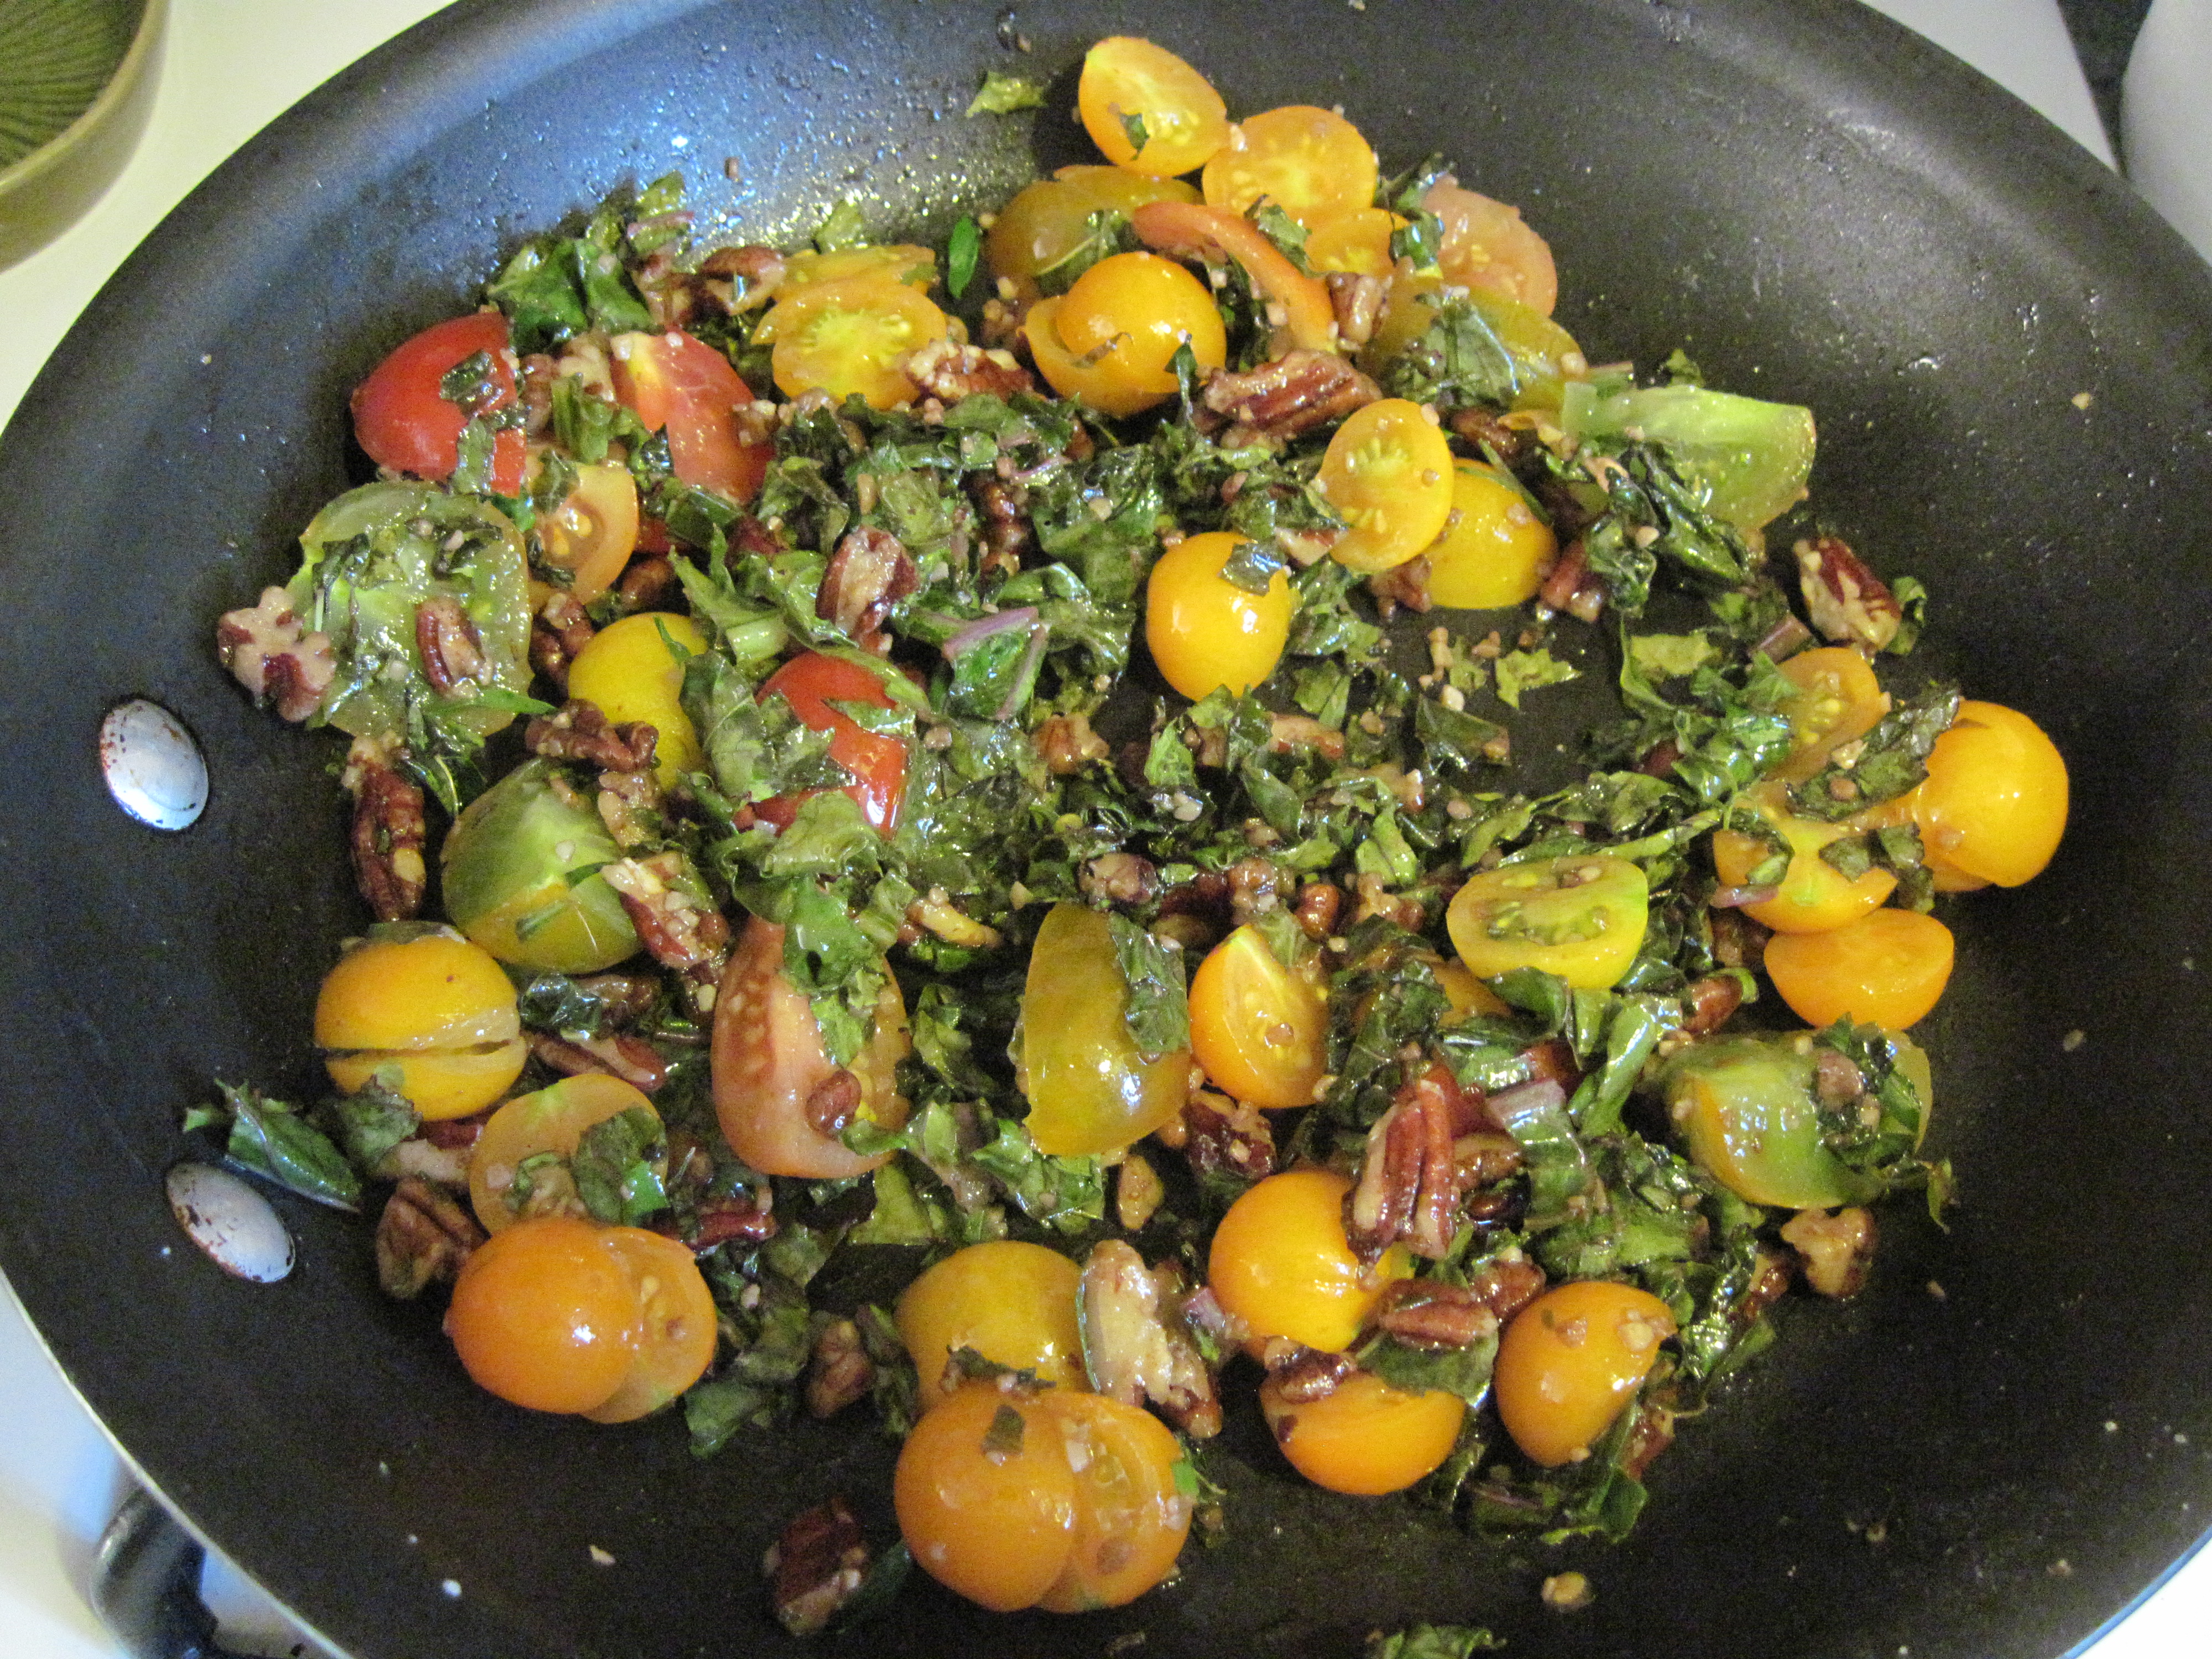
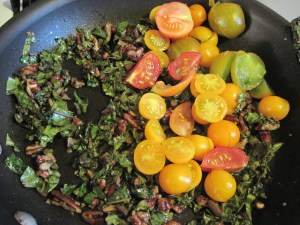
After another minute I put in the cherry tomatoes. For a dish such as this, I am a big fan of throwing in the tomatoes in the final minute or two of cooking; this way they retain their fresh flavor and a bit of firmness; cook too long and you will be left with mushy tomatoes. 

IMG_2037

Stir, let cook for another 1 1/2 minutes, and serve! While I know there were a lot of pictures here and there seemed to be lots of steps, this dish took 10-15 minutes to prepare, and that included chopping the veggies.
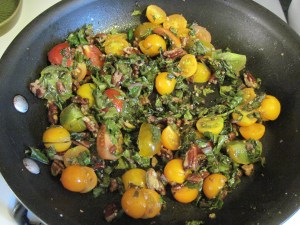
IMG_2038

ENJOY!!!

IMG_2039


Ginger Beer Taste Test

After trying my first Moscow Mule with Cock and Bull ginger beer, I decided to try a different ginger beer for my second: Fever-Tree, a light version of ginger beer. Though it had about a third of the calories as the other ginger beers I sampled (46 calories for 8 oz), it still had a powerful ginger taste; I actually found the ginger taste in this beer to build on your tongue with each drink, and have a little more in your face ginger taste than the Cock and Bull. While I preferred the Cock and Bull in the Mule, I think this is a great option, especially for anyone wishing to cut a few calories this way.


IMG_2018IMG_2021

The next ginger beer I tried in my drink was Fentimans ginger beer. This ginger beer had a very strong, powerful ginger flavor. It was a flavor that was too strong for me, but would be great for those looking for some extra ginger kick!

IMG_2020

I have one ginger beer left to try! I will keep you posted!


Making Moscow Mules

Though they were created in the 1970s (according to the box containing my new copper plated cup), Moscow Mules (a drink consisting of lime, vodka, and ginger beer) have become increasingly popular in the last couple of years. I’ve sampled a few of these popular drinks at different establishments, and while I found them okay, I was not that excited about them. Recently, however, I decided to jump on the Moscow Mule band wagon. A few weeks ago, while dining at a sushi restaurant in Bigfork, Montana, the bartender was making Moscow Mules for a couple of customers. My friend didn’t know what to order, so I suggested she try one. I tried a drink of her Moscow Mule and it was delicious! So, when I got home, I decided to emulate the recipe. I think there are two things that seemed really important when making the drink: 1) enough lime and 2) giving it a little shake. The drink I made turned out pretty delicious, so I thought I would share with you what I did. Also, I broke down and bought the copper mug! I thought if I was going to do this, I may as well go all the way. I found these mugs at Bed, Bath, and Beyond for $14.99- the cheapest ones I found. 

2014-08-01 09.55.44

For one drink, you will need:

1) 3/4-1 lime

2) a copper mug or other glass of your choice

3) a glass or shaker

4) ice

5) vodka

6) ginger beer

7) something to squeeze the lime with- your hands will work if nothing else!

2014-08-01 09.57.08

After washing out my new mug (which is actually stainless steel inside and copper plated), I squeezed half a lime into the bottom of the cup with my fancy squeezy thing. 


2014-08-01 10.01.15


2014-08-01 10.02.48

Put the lime in this side up. (I made the mistake of doing it the wrong way the first time- doesn’t work as well!)

2014-08-01 10.02.05

Next, I put in my ice, filling the cup to the brim.

2014-08-01 10.03.47

After this I put in a shot of vodka. (You can put in more if your heart desires; it would probably be delicious and refreshing without vodka too!)

2014-08-01 10.08.00

I then added ginger beer to the top. I chose to use the popular Cock and Bull brand, but also bought a few others to try throughout the week! I will let you know how the others compare!

2014-08-01 10.08.47

I believe the next step is very important! Mixin’ it all together! Alas, though I bought the fancy mug, I have not invested in a shaker. I think I will do this in the future, but for anyone out there that doesn’t have a fancy shaker, a cup that is a little wider than the rim of the mug will do. I suggest you do it over the sink:)

2014-08-01 10.09.53

2014-08-01 10.10.06

Squeeze another half of lime and drop it in your drink!

2014-08-01 10.12.34

ENJOY!!!

2014-08-01 10.11.11

The cat made me do it

A few weeks ago I jokingly said I was going to start a blog and post the pictures my mom sends of her cats. After further consideration, I decided maybe it would be fun to actually begin a blog. However, as many of my ideas do, this one sat cooped up in my brain. Usually my ideas will eventually die out, but I decided I wanted to see this one through. One of the reasons is that I hope it will help me see more projects through. I also have a desire to be creative, and in my modern day life, not many tasks allow me to fulfill this. Hopefully this one will. Furthermore, I am moving in a few weeks for a job. This means a few things: 1) I will be apart from my fiance for nine months 2) I will be living with my parents 3) I will obviously need an escape from my fiance’s absence and parents presence. Don’t get me wrong, I love my parents, but as you may find out, they are sometimes a little much to handle. I also began to think about the people in my life other than myself: my mother, father, fiance, and friends. They are all very creative people in various ways, and I would love to showcase and learn from their skills here. I enjoy cooking, and want to share my triumphs and disasters (of which there are many). I am getting married next summer, and would like to feature some of my crafts and wedding ideas. Among other things, I will be living in a very beautiful place; Kalispell, Montana, nestled in the Rocky Mountains, in the heart of the Flathead Valley, under the Big Sky. Above all, this is an experiment, one that I am hoping will be benefit me, but others as well. And, if you’re lucky, you may get to see some pictures of cats!